In this guide, Roman Blinds shows how to measure every window you plan to fit with outside mount roman shades. The steps are written for someone working at home with basic tools and a little care.
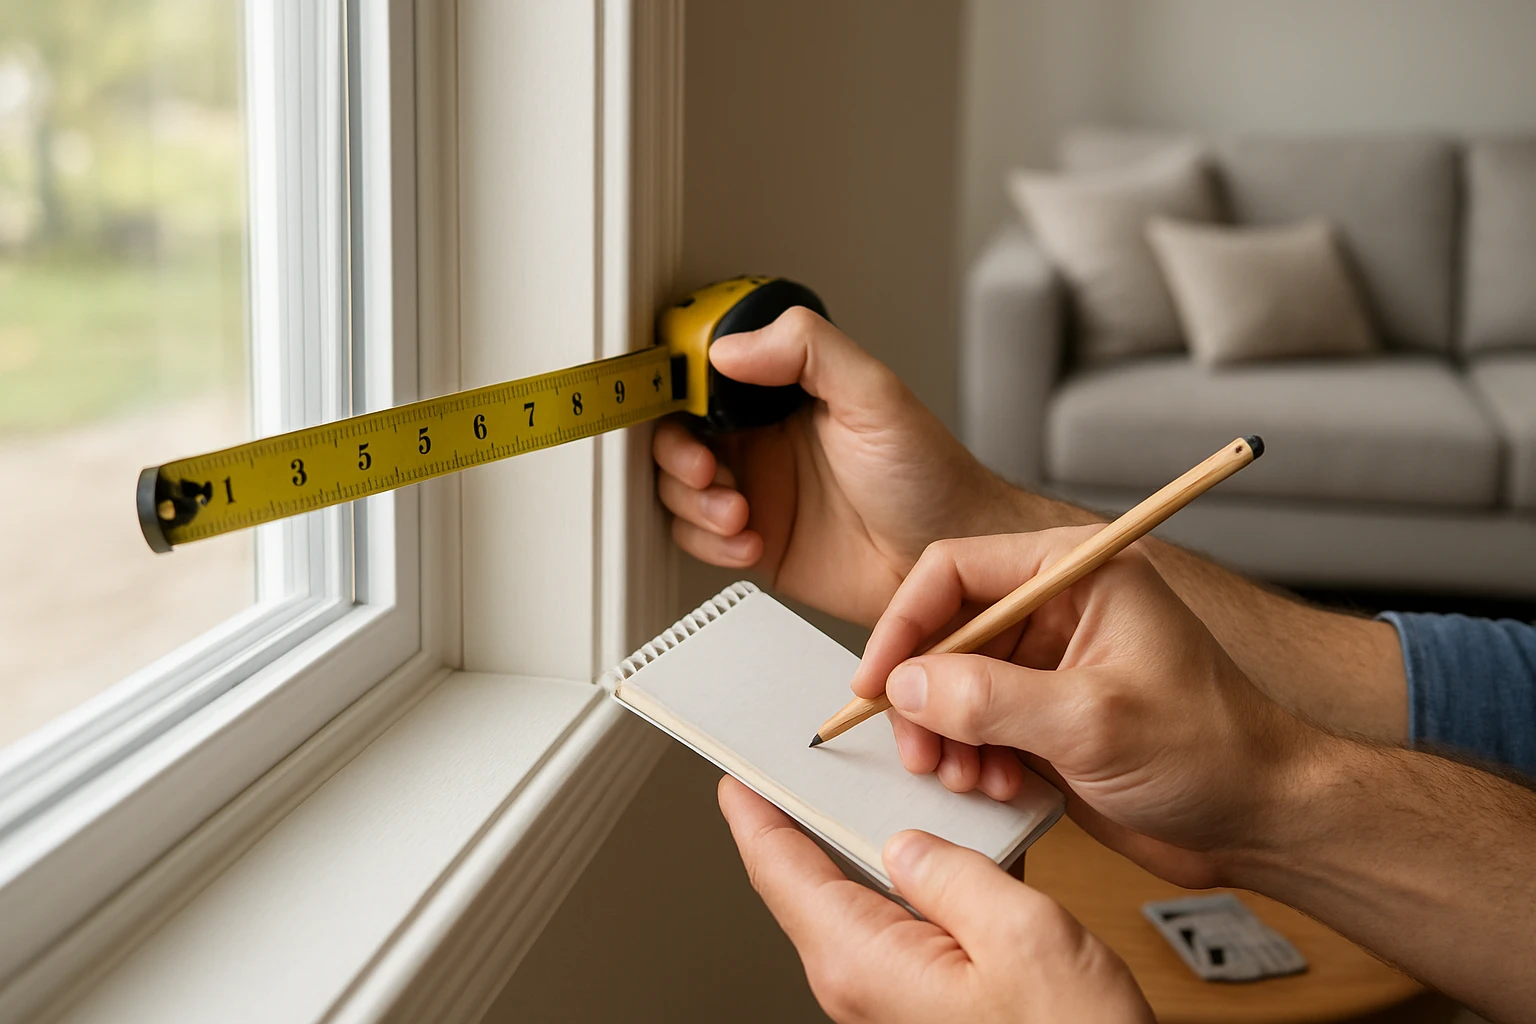
Measure the full window opening width and height from the outside of the trim and add recommended overlap so the roman shade covers the glass and reduces light gaps. For outside mount, measure the width at three places and use the largest number, then measure the drop from the top of where the shade will sit down to the point you want it to stop. Record everything clearly and give your installer the finished width and drop rather than trying to guess fabric shrinkage or stack size.
When to Choose Outside Mount Roman Shades
Outside mount roman shades are fixed to the wall above the window or over the trim. They work well when you want full coverage, to hide the window frame, or to make the window look larger. They are also a good choice if the inside of the window has obstructions like handles, moulding, or not enough depth for an inside fit.
Most installers recommend outside mount for blackout performance because the shade can overlap the frame by a few inches and block more light. If you want more on choosing styles or fabric that affect light, see Best Fabric for Roman Blinds.
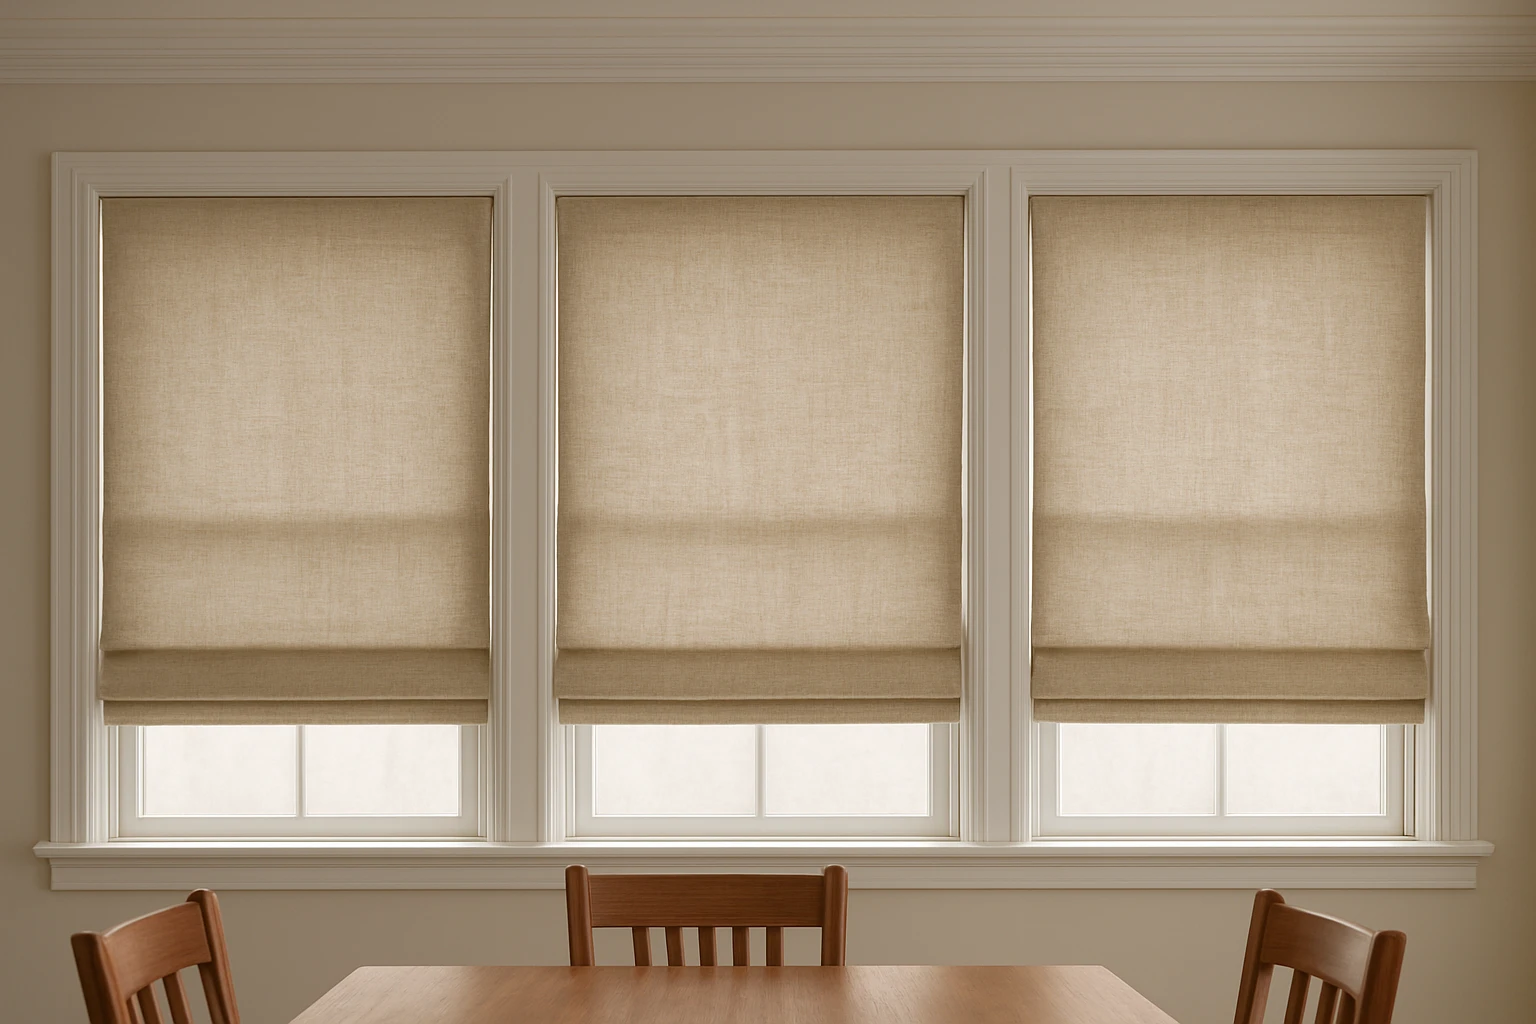
Tools You Need Before You Start
Use a few simple tools to get reliable measurements. Measure twice and write everything down so orders and installers get the correct numbers.
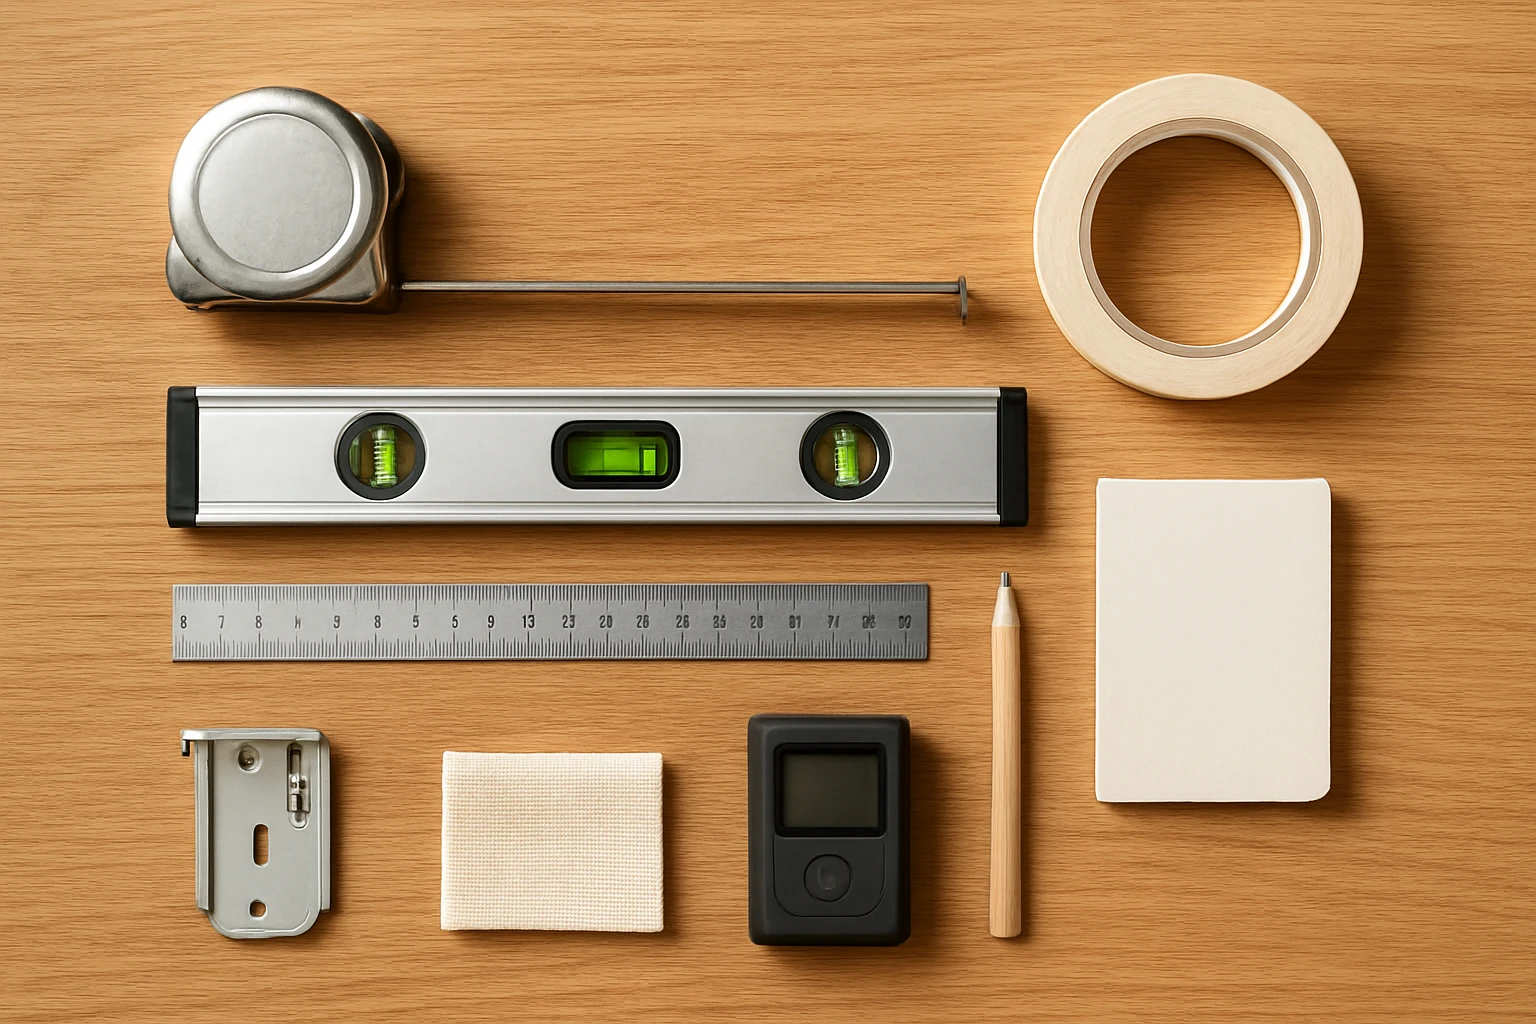
Tool Checklist:
Tape Measure: the Standard:
A 3 to 5 meter 10 to 16 foot retractable tape measure. A metal tape stays straight across the opening and gives the most accurate reading.
Level and Pencil: the Extras:
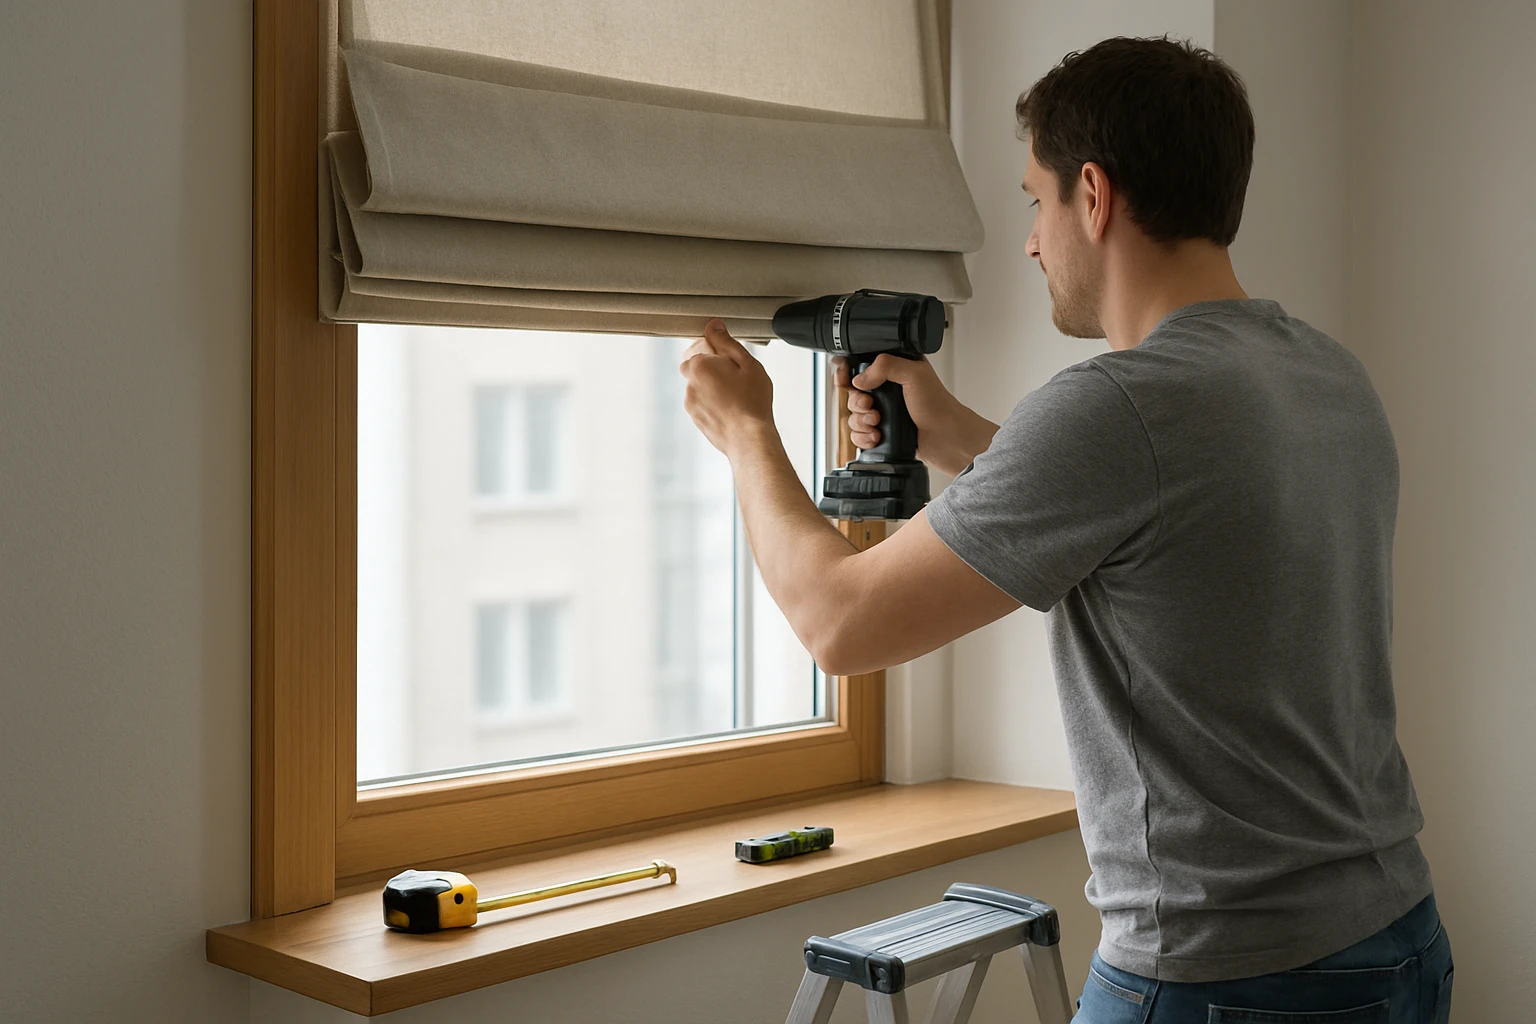
A small level keeps your measurements square and a sharp pencil marks exact points on the trim or wall. Use low-tack masking tape to mark positions if you need to avoid pencil marks.
Notepad or Phone Photo: the Record:
Write each measurement down and take a photo that shows the tape in place. Installers like a clear photo with the tape visible because 23 percent of order clarifications come from unclear notes. Keep that photo with your numbers.
How to Measure Windows for Outside Mount Roman Shades
This section gives the exact measurements most companies need: finished width and finished drop. Read each step and record numbers in millimetres or inches, then supply them to the maker or fitter.
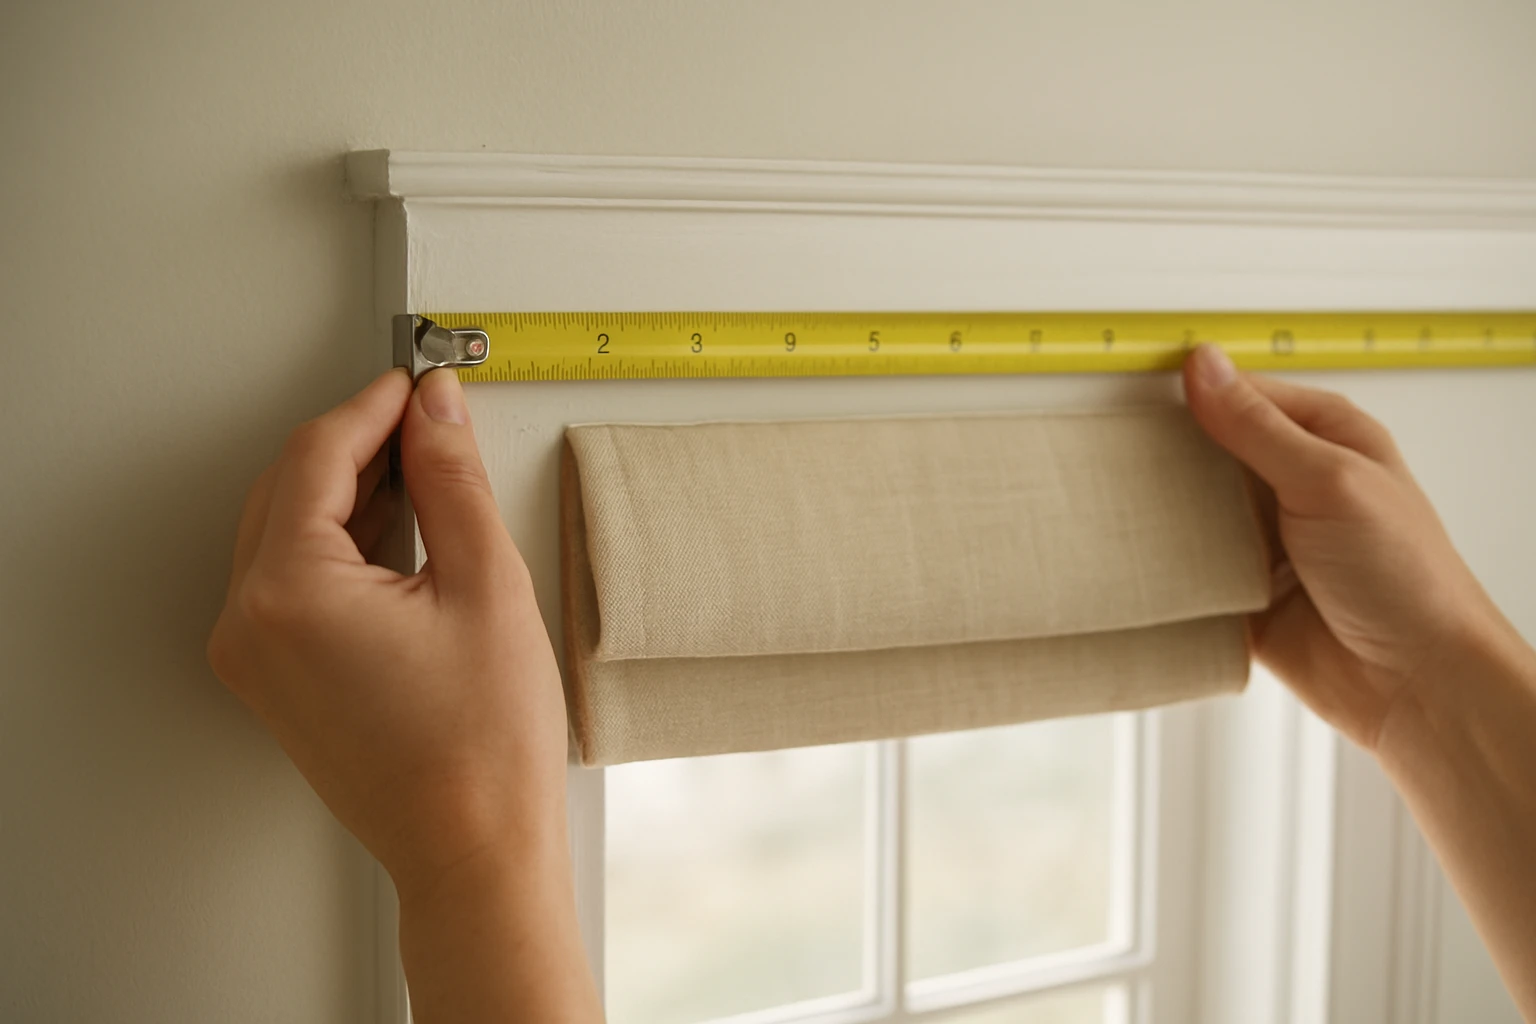
Step 1 Measure Width
Measure the full width where the shade will sit on the wall, not the glass. Take three measurements across the opening: top, middle, and bottom. Use the largest of the three measurements.
- Common allowance to cover gaps is 25 to 75 mm 1 to 3 inches per side depending on how much overlap you want. A good default is 38 mm 1.5 inches each side for a neat balance of coverage and appearance.
Step 2 Measure Drop
Measure from the top edge where the headrail will mount down to the point where you want the shade to finish. For a shade that ends at the sill, measure to the sill surface. For a full-length shade, measure to the finished floor.
- If there is a radiator, trim or handle under the window, measure where the shade should stop so it does not hit the obstruction. A common installer adjustment is to subtract 12 mm 1/2 inch from the measured drop when the shade must clear a sill or handle.
Step 3 Decide Headrail Position
For outside mount, the headrail usually sits on the wall a few millimetres above the trim or plaster. Mark the top mounting point and measure from that actual mounting line.
Step 4 Note Special Conditions
Write down any conditions that affect fit such as uneven trim, sloped windows, handles, or moulding. If the opening is uneven by more than 6 mm 1/4 inch, note that and consider professional fitting.
How to Record Measurements and What to Send the Maker
Write down the final finished width and finished drop. Do not send inside raw measurements unless the maker asks for both inside and outside numbers. Give one set of finished numbers and a clear photo. This reduces back-and-forth and ordering mistakes.
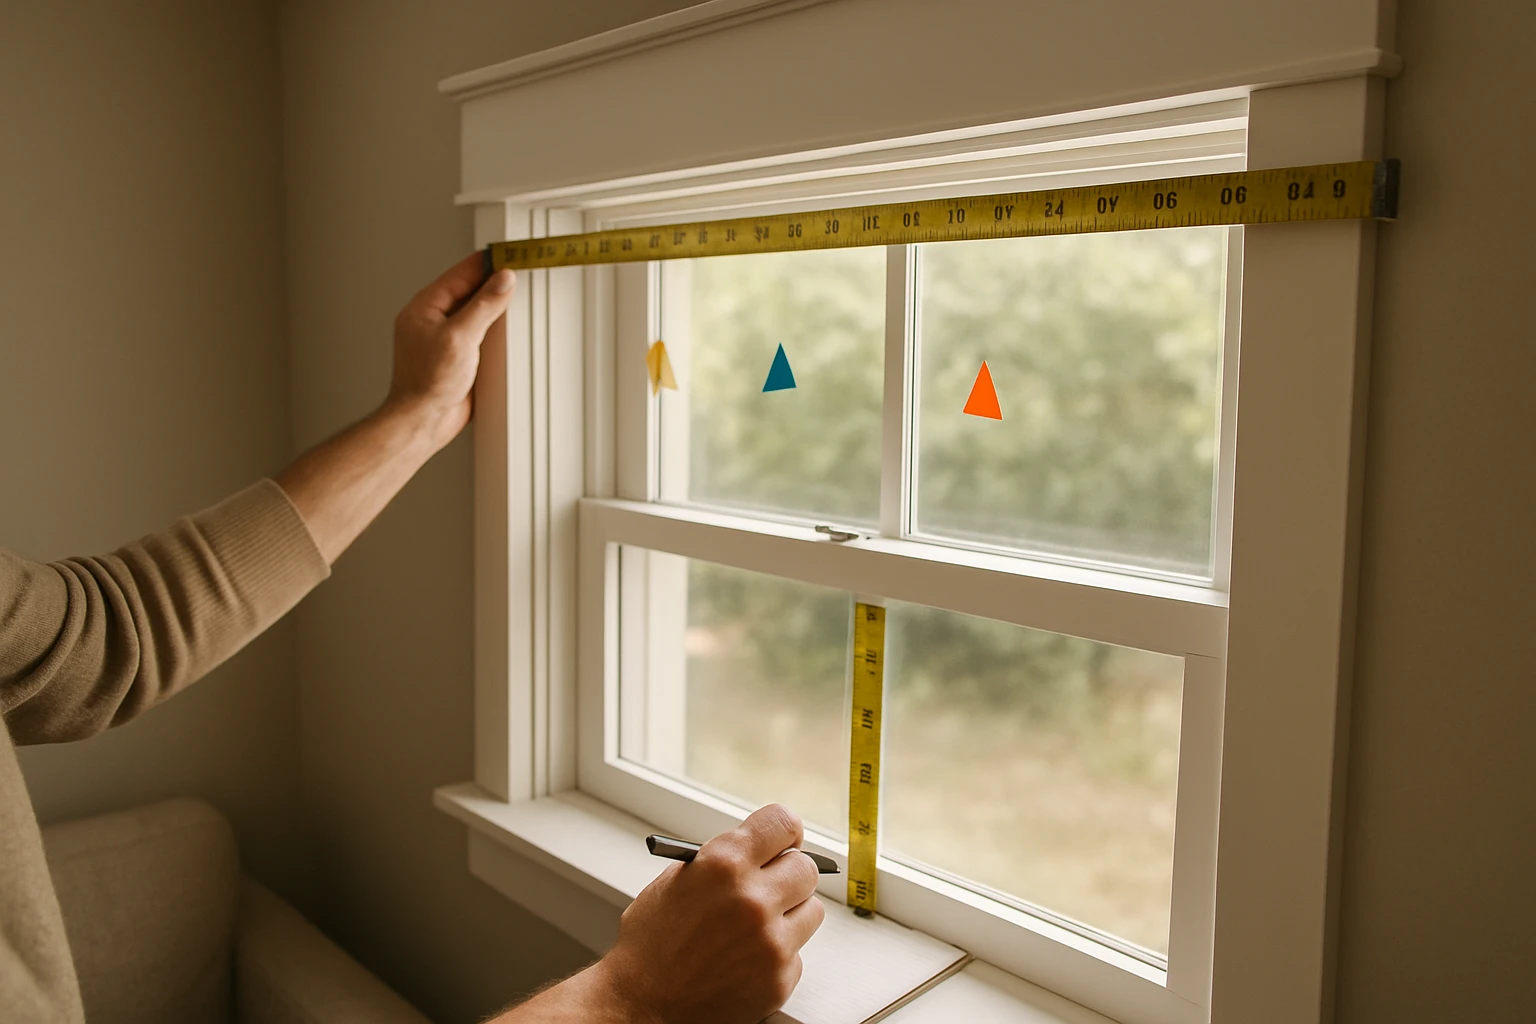
What to Include in Your Order Note:
- Final Finished Width: use the largest of three width measurements plus your chosen side overlap.
- Final Finished Drop: from mounting line to finish point, include any deduction for obstructions.
- Mount Type: state outside mount and whether you want the headrail above trim or on top of trim.
- Fabric Option and Lining: mention if you want blackout or thermal lining because stack and weight change.
You can find a fitting checklist in the Step-by-Step Guide To Roman Blinds Fittings Guide which explains headrail and bracket positions in pictures.
Measurement Table and Common Sizes
Below is a practical table you can use as a reference while measuring. These are typical finished sizes and suggested overlaps installers use often. They are not mandatory for every window but help you pick sensible overlaps.
| Window Type | Typical Finished Width | Side Overlap Recommended | Typical Finished Drop |
|---|---|---|---|
| Small Window (600–900 mm) | 600–950 mm | 25–50 mm per side | 700–1400 mm |
| Standard Window (900–1500 mm) | 900–1600 mm | 38 mm per side | 900–1800 mm |
| Wide Window (1500–2400 mm) | 1500–2450 mm | 50–75 mm per side | 900–2500 mm |
Note on units: provide measurements in mm if possible. Manufacturers convert to fabric cut size and account for hem and stack. Giving millimetres reduces a common rounding error that otherwise adds 6 mm to a finished width.
Fabric Stack, Headrail, and Overlap Considerations
Roman shades stack differently depending on the fold height and lining. The stack is the amount of fabric that gathers at the top when the shade is fully raised. Stack affects the visible window and how much drop you need.
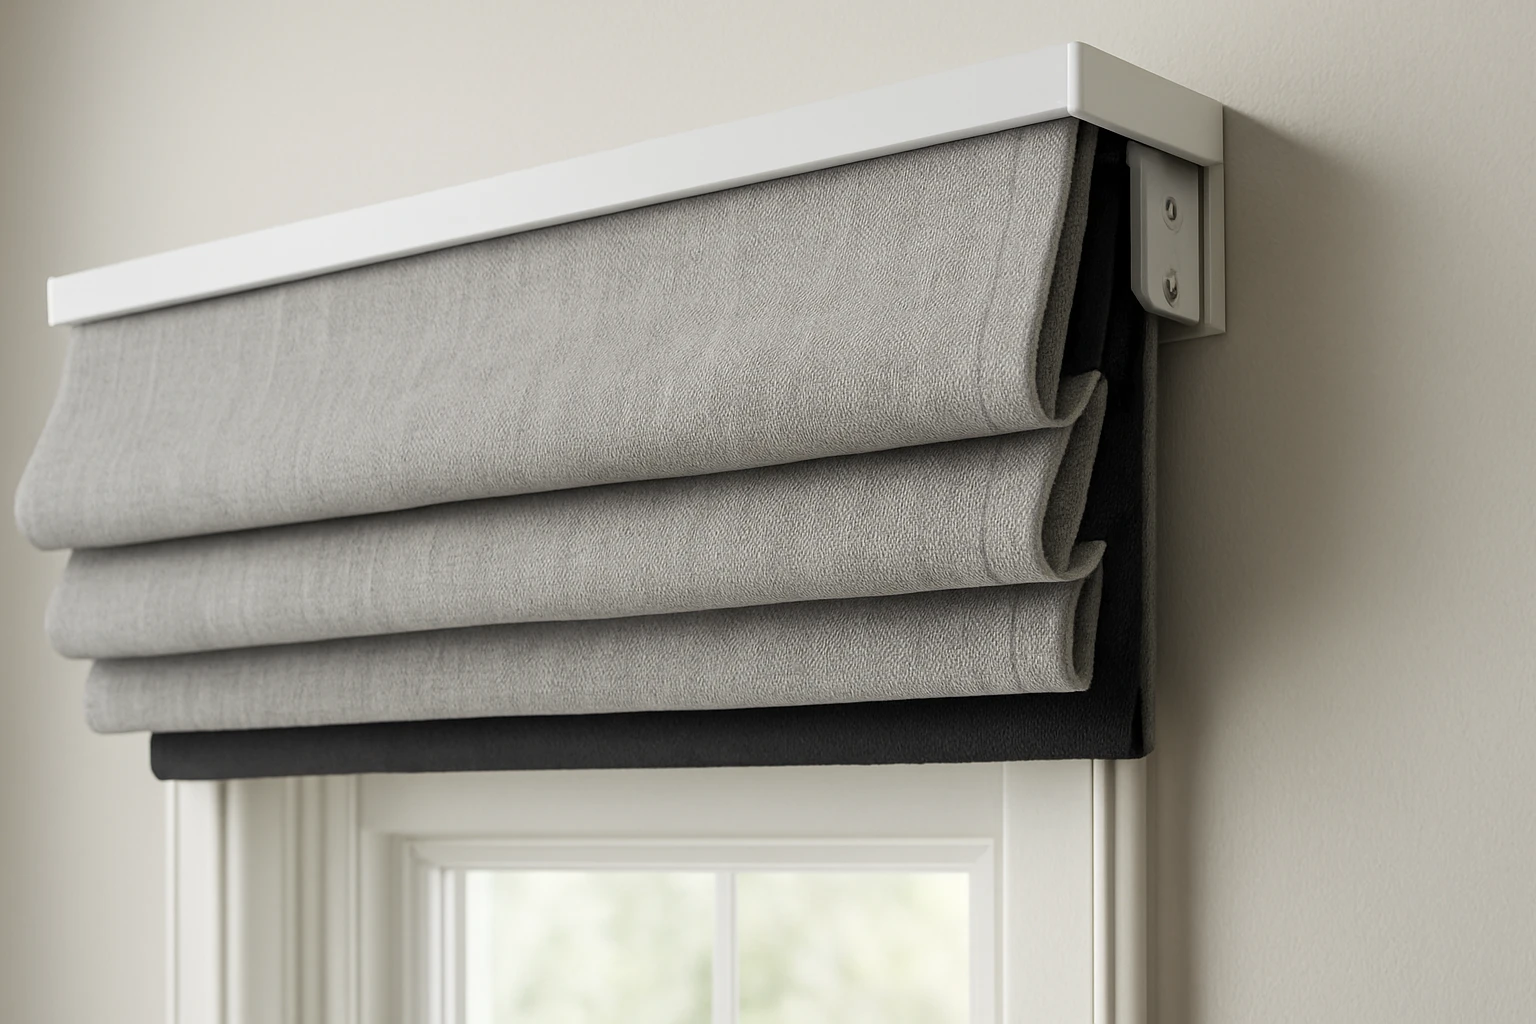
Typical Stack Sizes:
- Shallow folds 2 inches or 50 mm stack about 75 to 125 mm.
- Medium folds 3 inches or 75 mm stack about 125 to 175 mm.
- Deep folds 4 inches or 100 mm stack 175 to 250 mm.
If you want the maximum view when the shade is raised, choose shallower folds. If you want a stronger fabric presence and a tailored look, deeper folds work better. Tell your maker which style you prefer because it changes the headrail and fabric placement.
Common Mistakes and How to Avoid Them
A number of measurement errors repeat in home projects. Watch for these and follow the simple checks below.

Frequent Errors:
- Measuring inside the frame instead of where the shade will mount. That loses your overlap and leaves light gaps.
- Sending three numbers without a clear final width. Give the finished width you want, not a list of raw measures.
- Forgetting obstructions under the shade such as a handle or radiator. Measure to a point that avoids contact.
- Assuming fabric will stretch less or more. Ask the maker whether the listed size is finished or fabric-cut size.
About 18 percent of reorders come from unclear final-width instructions. A single clear finished width plus a photo cuts that rework rate down a lot.
Comparison Table Outside Mount Versus Inside Mount
| Feature | Outside Mount | Inside Mount |
|---|---|---|
| Coverage | Better for blocking light and hiding trim | Cleaner, built-in look if recess is deep enough |
| Measuring Difficulty | Easy to measure on wall, forgiving | Requires precise inside depth and width checks |
| Visual Size | Makes window look larger with overlap | Shows original window shape |
| Obstructions | Handles obstructions like moulding | May not fit if deep handles or shallow jamb |
For more help choosing between styles and practical trade offs, see How to Choose between Roman Blinds and Roller Blinds – A Brief Guide.
Case Examples with Numbers
Example 1 Living Room Window:
- Measured top width 1202 mm, middle 1200 mm, bottom 1203 mm. Use largest 1203 mm. Add 38 mm overlap each side gives finished width 1279 mm.
- Measured drop from planned headrail to sill 1320 mm. No obstructions. Final order: Width 1279 mm, Drop 1320 mm.
Example 2 Bedroom Window with Handle:
- Width readings 900, 903, 901 mm. Use 903 mm. Add 25 mm per side for a subtle overlap gives 953 mm finished width.
- Drop to top of handle 1405 mm. Subtract 12 mm clearance. Final drop 1393 mm.
These examples show the practical decisions you must make: pick a side overlap, use the largest width reading, and adjust the drop to clear obstructions. If you want a checklist before you order, the How to Measure for Roller Blinds? post covers a similar method you can use for comparison.
Ordering Tips and What Installers Look For
When you place the order, include a short note that lists the key facts and attach one clear photo that shows the measuring tape against the trim. Installers will want the finished width and drop, the fabric code or lining choice, and the mounting position you prefer.
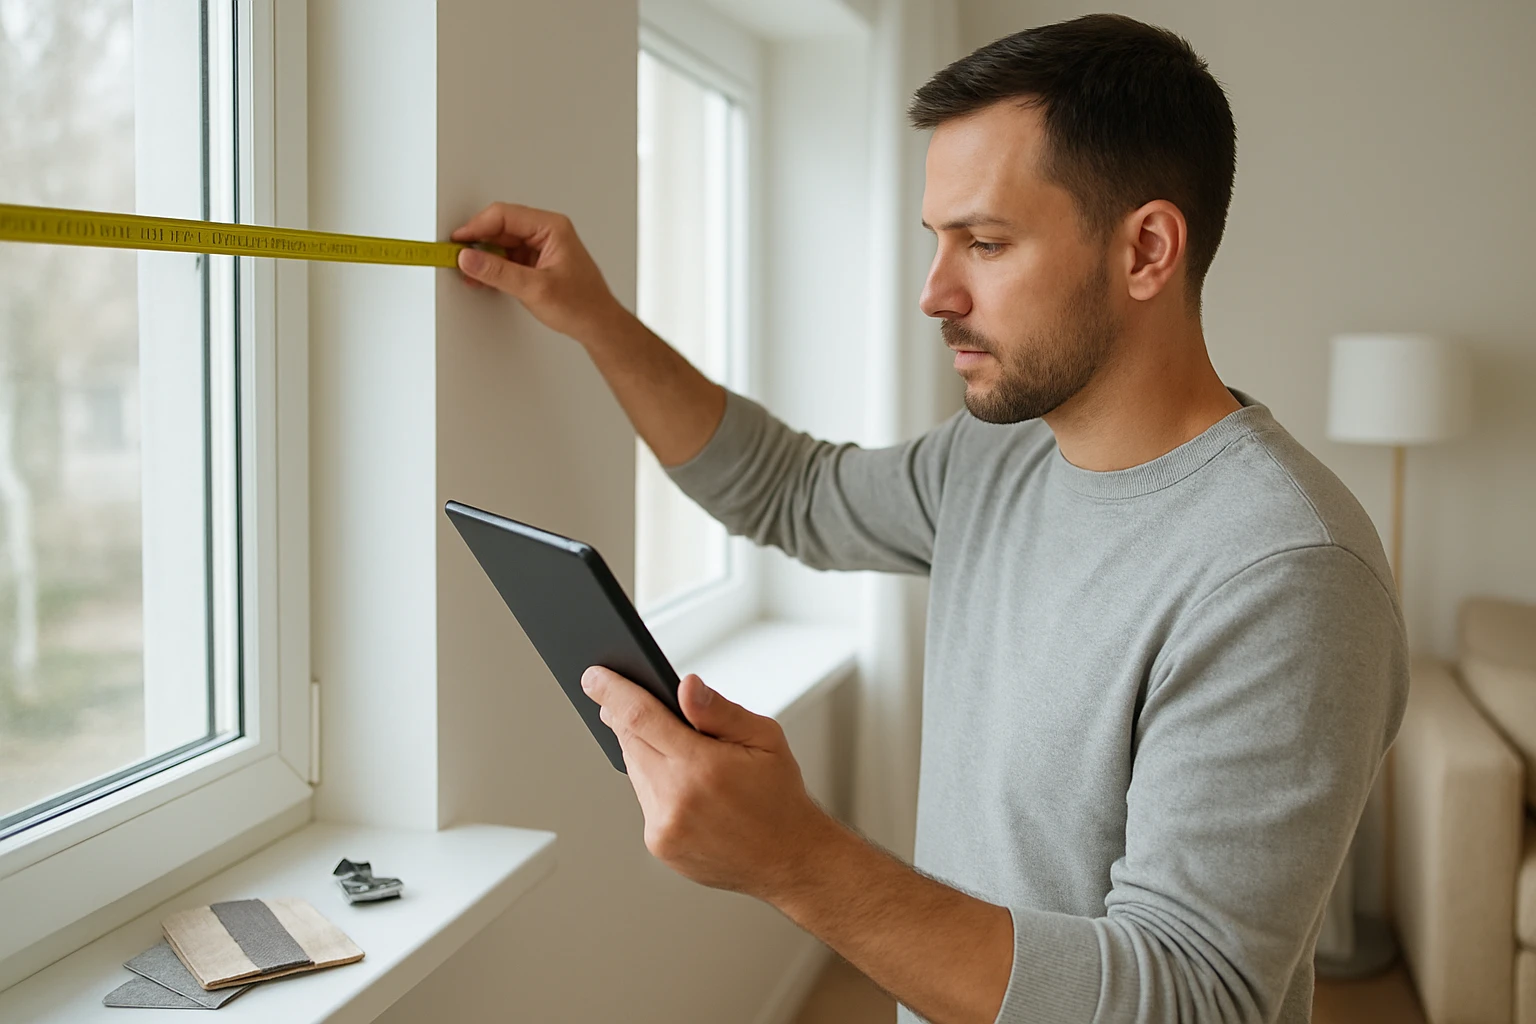
Also tell them whether you want standard brackets or extra-strong brackets for heavy or wide shades. For wide shades over 2200 mm, installers often add a centre support to prevent sag.
Final Checks Before You Give Numbers
- Re-measure width at three points and use the largest.
- Measure drop from the exact mounting line to the finish point.
- Note any obstructions and the overlap you want.
- Photograph the window with the tape visible and label the photo with the room name.
If you need professional help, see the Window Blinds service page for fitted options and Blackout Blinds for bedroom solutions. To learn more about the company and their process, visit About Us.
Quick Checklist You Can Copy
- Measure width at top, middle, bottom and record largest number.
- Add side overlap default 38 mm per side if unsure.
- Measure drop from mounting line to finish point and note any deductions.
- Photograph with tape measure visible and attach to order.
- State fabric choice and lining type on the order.
Following these steps reduces ordering errors and helps the shade fit like it was made for the window.
Frequently Asked Questions
How Much Overlap Should I Add for Outside Mount Roman Shades
A practical default is 38 mm (1.5 inches) per side for a neat look and good light control. For extra blackout, choose 50 to 75 mm per side. Measure the window and pick an overlap that fits your visual preference and how much wall space you have.
Should I Measure in Millimetres or Inches
Provide measurements in millimetres where possible because manufacturers often work in metric and it reduces rounding errors. If you only have inches, convert them precisely and note whether the numbers are final finished sizes.
Do I Measure the Inside of the Trim or the Outside for an Outside Mount
For outside mount, measure on the wall where the headrail will sit, not the inside of the trim. Measure the full area you want the shade to cover and then add the side overlap you prefer.
How Do I Allow for Fabric Stack When Measuring the Drop
Decide whether you want more window visible when raised. Typical stack ranges from 75 mm for shallow folds to 250 mm for deep folds. Tell the maker the style of fold so they can account for the stack when cutting fabric and setting hem positions.
What If My Window Frame Is Not Level or Square
Measure width at three places and use the largest number for finished width. For significant out-of-square conditions, note the variance and consider a professional site visit so the fitter can plan custom brackets or adjustments.