Measure the window, fit sturdy brackets where you marked them, mount the headrail level, and attach the fabric and cords so the folds fall evenly. Take careful measurements and do a small test fit to avoid gaps and uneven stacking. Fit a cord cleat and a tension device to keep children safe.
Key Statistics
- A careful DIY install of one standard window typically takes 45 to 75 minutes, including measuring, drilling, and final adjustments.
- A common measurement error we see is marking the bracket 10 to 15 millimetres too low, which causes uneven folds in about 20 percent of first-time installs.
- Typical professional fitting in the UAE ranges from AED 150 to AED 350 per window depending on headrail type and access difficulty.
Planning Your Installation
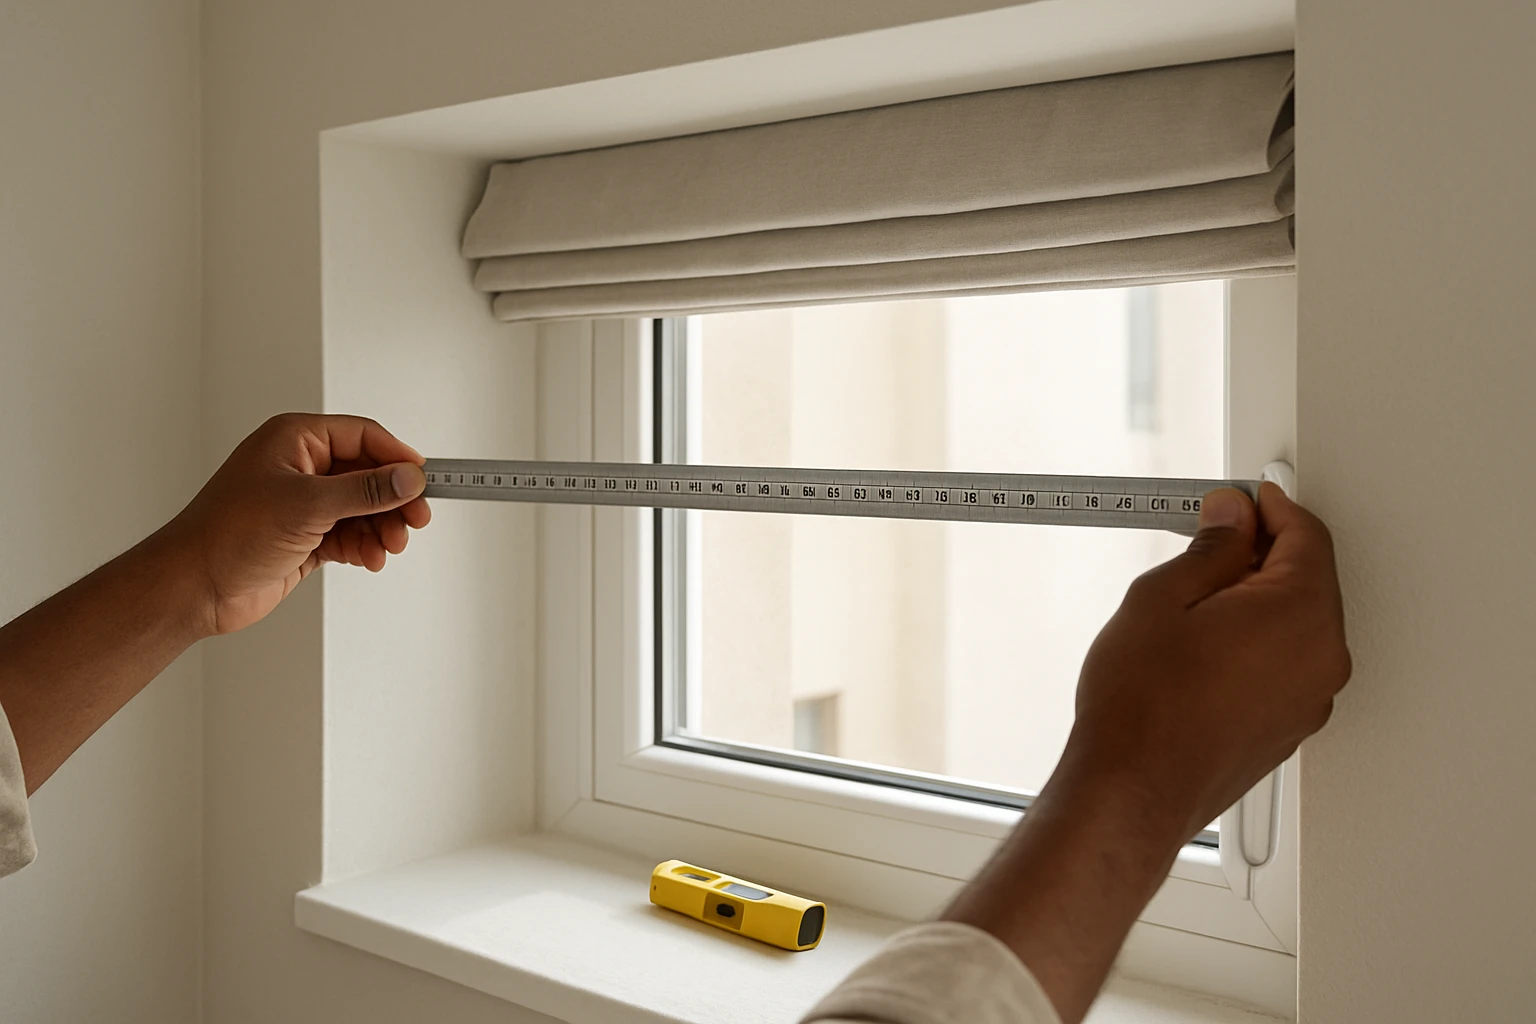
Decide first if the blind will mount inside the window reveal or on the wall outside it. Inside mounts look neater and save space, but they need at least 40 millimetres of depth for the headrail and a straight reveal for a snug fit. Outside mounts hide an uneven frame, cover more glass, and let the blind stack higher when raised.
Note the window trim and any obstructions such as handles or vents before you buy or cut the blind, as the team at Roman Blinds recommends. Measure twice and write down the width and drop.
Tools and Materials
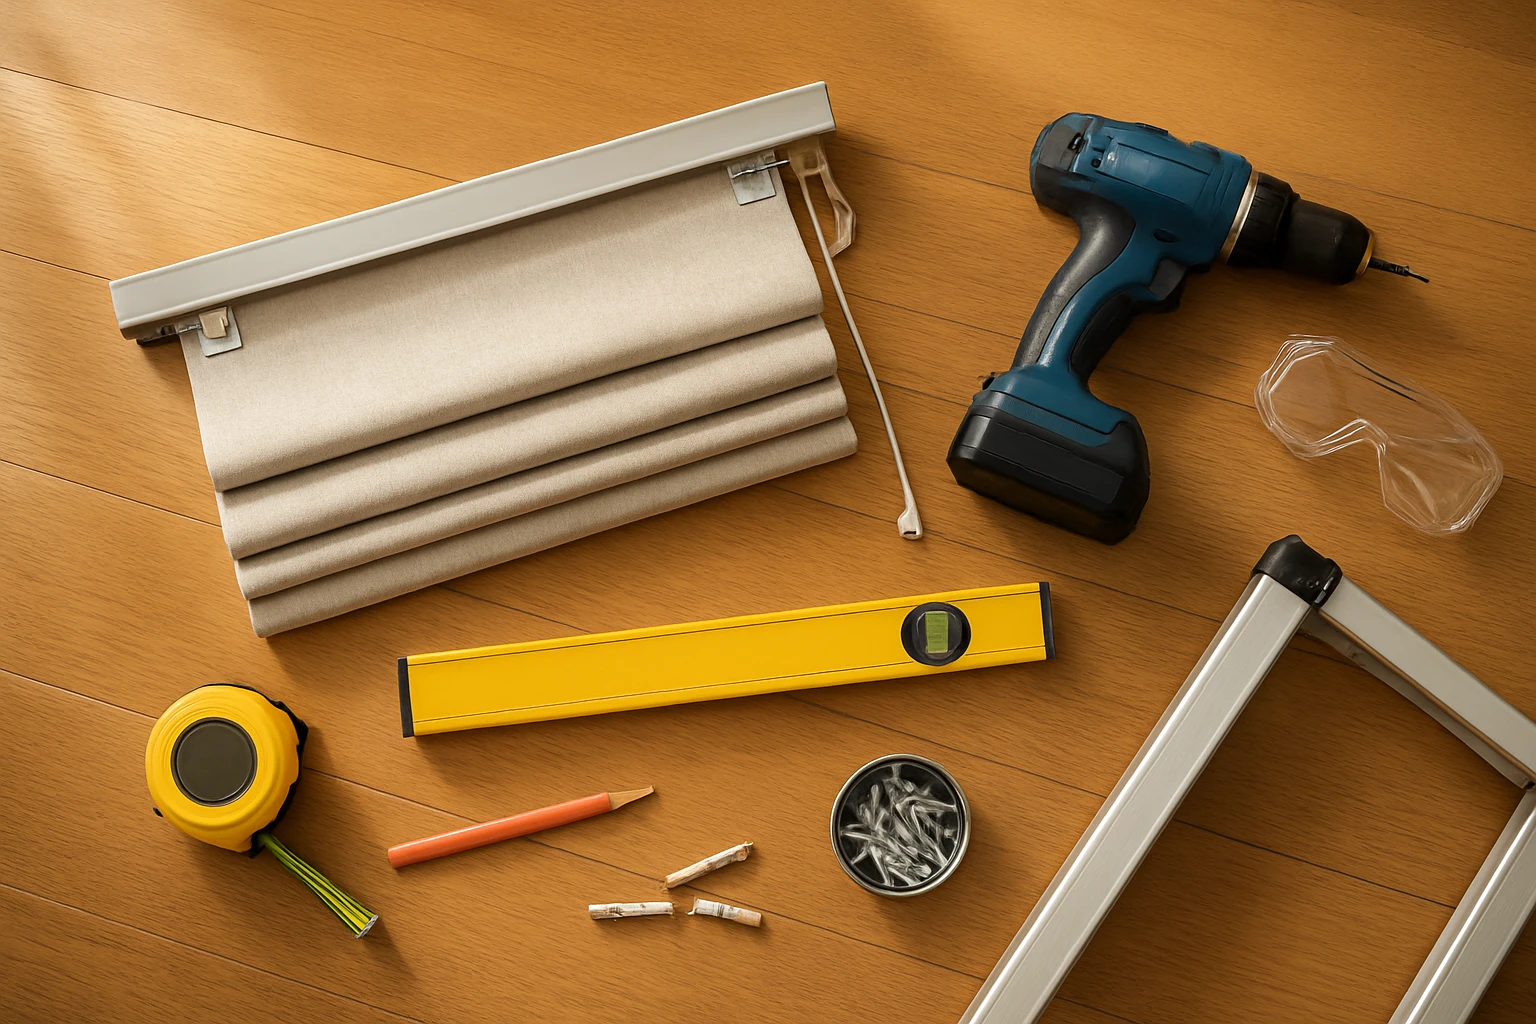
A small set of common tools covers most installs. If you rent a drill or buy bits, get a masonry bit for concrete and a wood bit for timber frames. Always use new screws and plugs rather than reusing old fixings.
Tool Checklist:
- Tape measure
- Spirit level or small laser level
- Drill with wood and masonry bits
- Screwdriver or impact driver
- Pencil and masking tape for templates
- Step ladder or stable stool
- Safety goggles and gloves
- Cord cleat and tension device
Table 1: Typical Tool Costs And Purpose
| Item | Typical Cost Range (AED) | Why You Need It |
|---|---|---|
| Tape measure | 15 to 40 | Accurate width and drop measurements |
| Spirit level | 20 to 80 | Ensures headrail is perfectly level |
| Drill and bits | 150 to 600 | Drilling holes in different materials |
| Screws and plugs | 10 to 40 | Secure mounting in wall or frame |
Measuring the Window
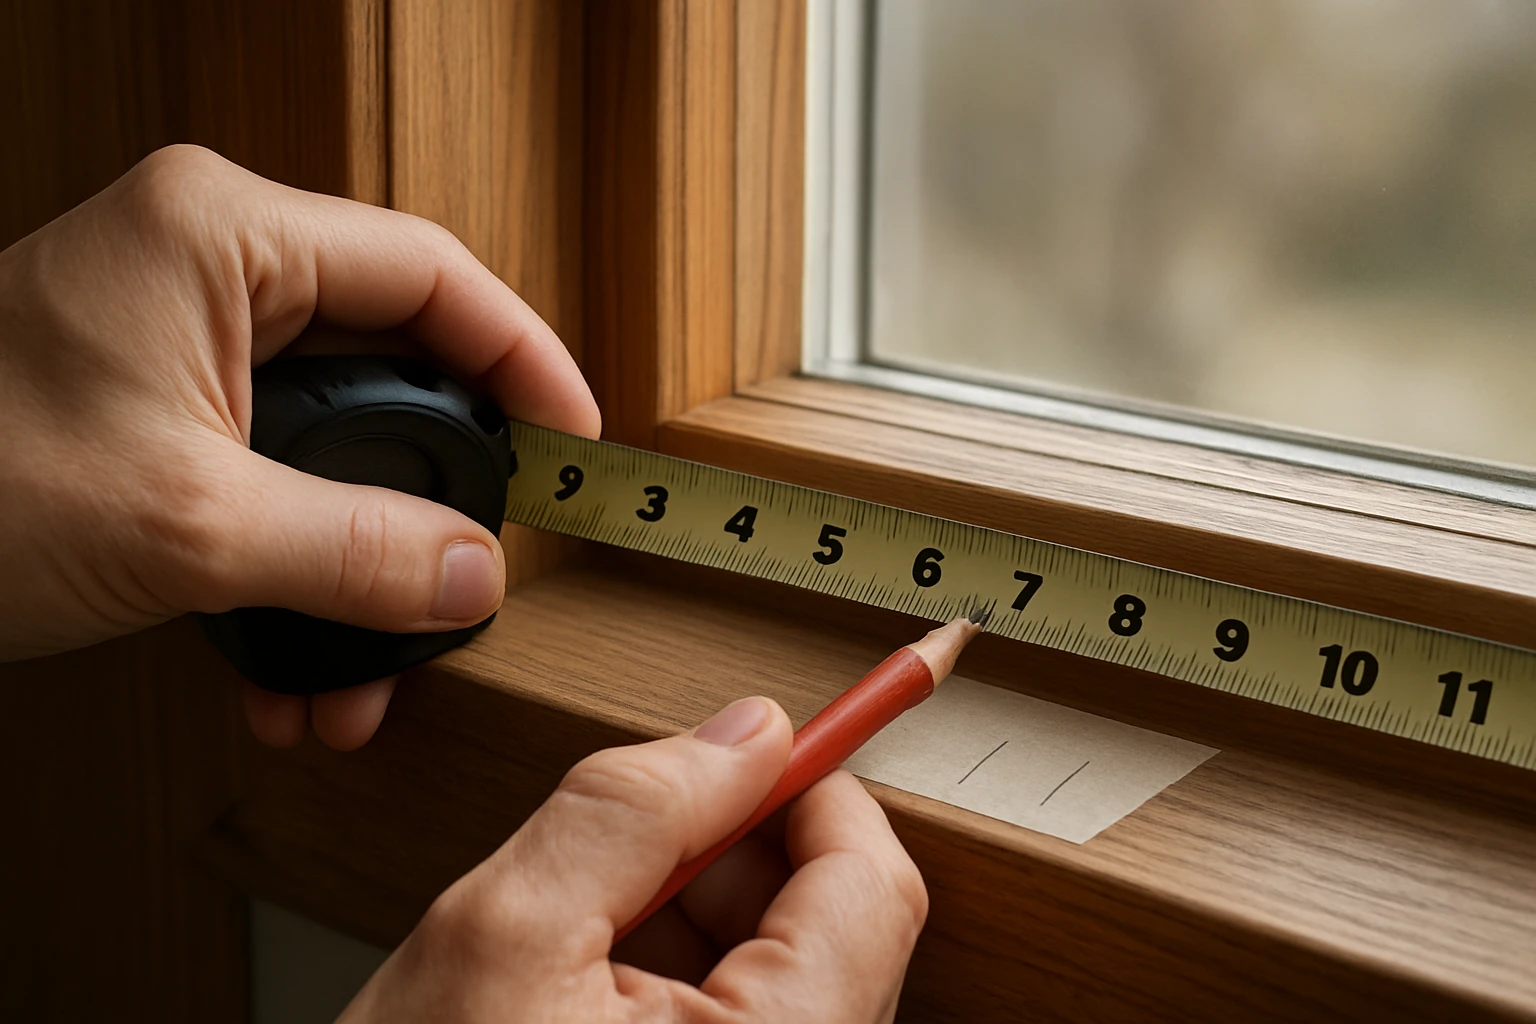
Measure the width first, then the drop. For inside mounts, measure the narrowest width at three points — top, middle and bottom — and use the smallest number. For outside mounts, measure the full area you want covered and add the overlap you want, usually 40 to 100 millimetres to each side depending on how much light you want to block.
Measuring Steps
What to Measure:
- Width inside reveal at top, middle and bottom for inside mount. Record the smallest measurement.
- Drop from the top inside face to the sill or where you want the blind to stop.
- For outside mounts measure the full area you want covered and add overlap.
Common Measurement Mistakes:
- Trusting a single measurement instead of taking three.
- Forgetting to measure around handles or catches that block the blind.
- Measuring fabric drop rather than the headrail position, which changes stack height.
Mounting Brackets and Marking Points
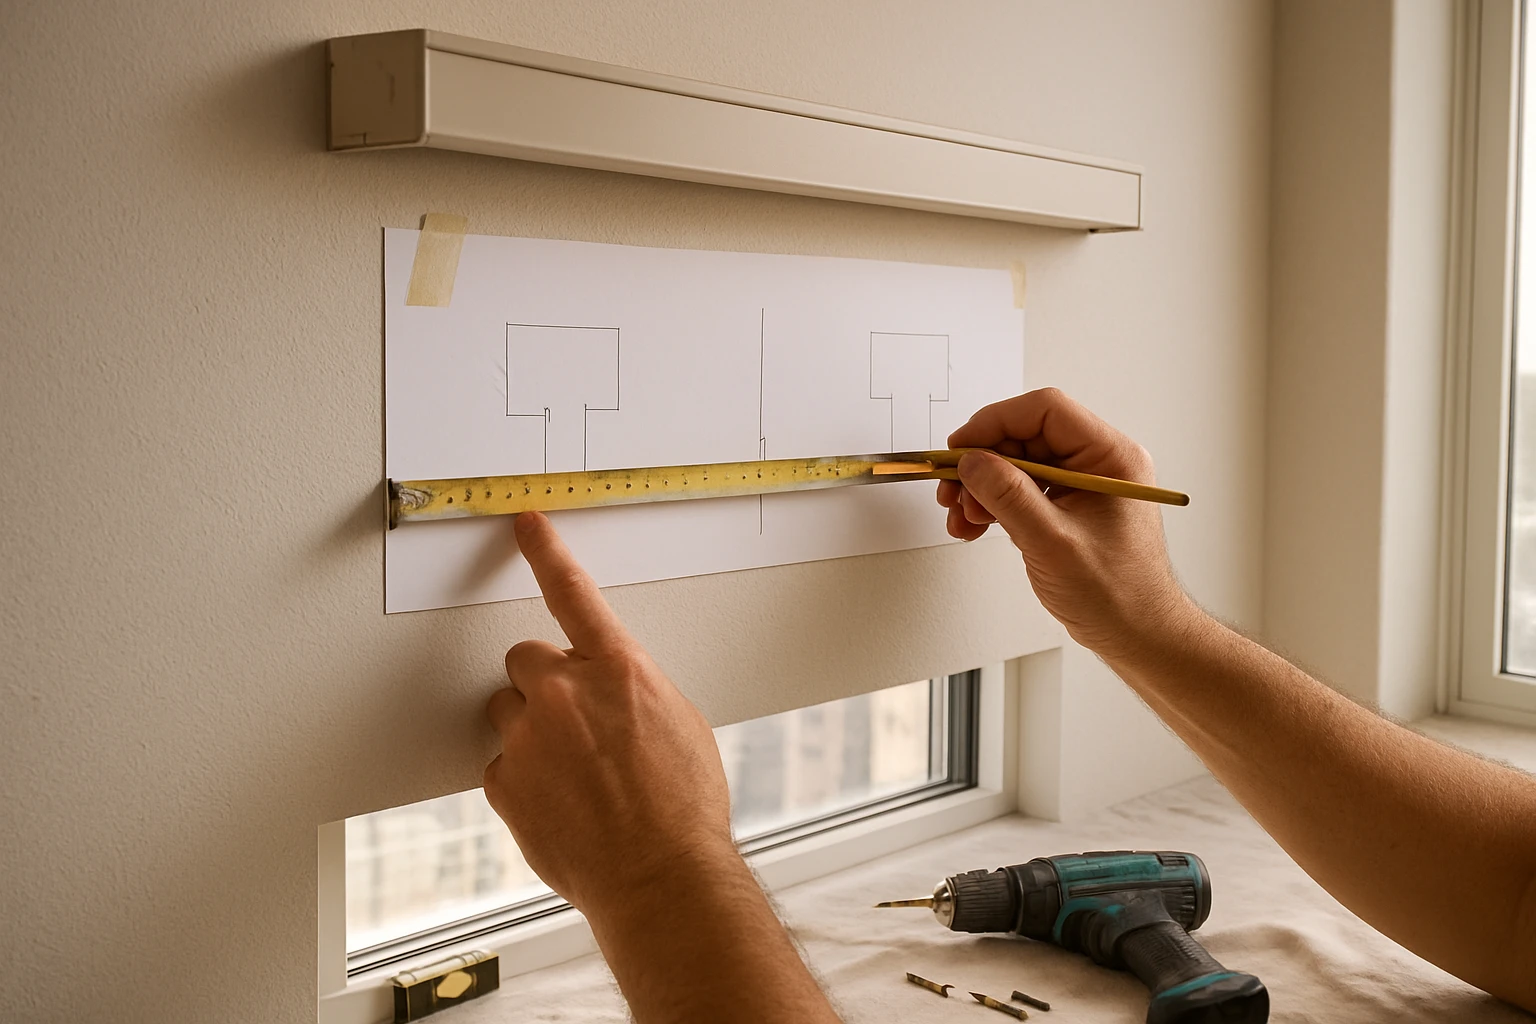
Most Roman blinds use two or more brackets depending on width. For windows up to 1500 millimetres wide, two brackets and one central support are common. For wider spans, add extra supports every 600 to 800 millimetres.
Bracket Placement Tips
Where to Place Brackets:
- For inside mounts set brackets inside the reveal, flush with the front face so the headrail sits straight.
- For outside mounts place brackets above the frame so the blind clears handles and trim.
- Allow 10 to 15 millimetres clearance behind the headrail for cord returns when needed.
Fastening for Different Surfaces
- Timber frame: use wood screws without plugs and predrill small pilot holes to avoid splitting.
- Plaster or drywall: use plastic or metal anchors sized for the screw diameter.
- Concrete or brick: use masonry plugs and a hammer drill with a masonry bit.
Installing the Headrail and Fabric
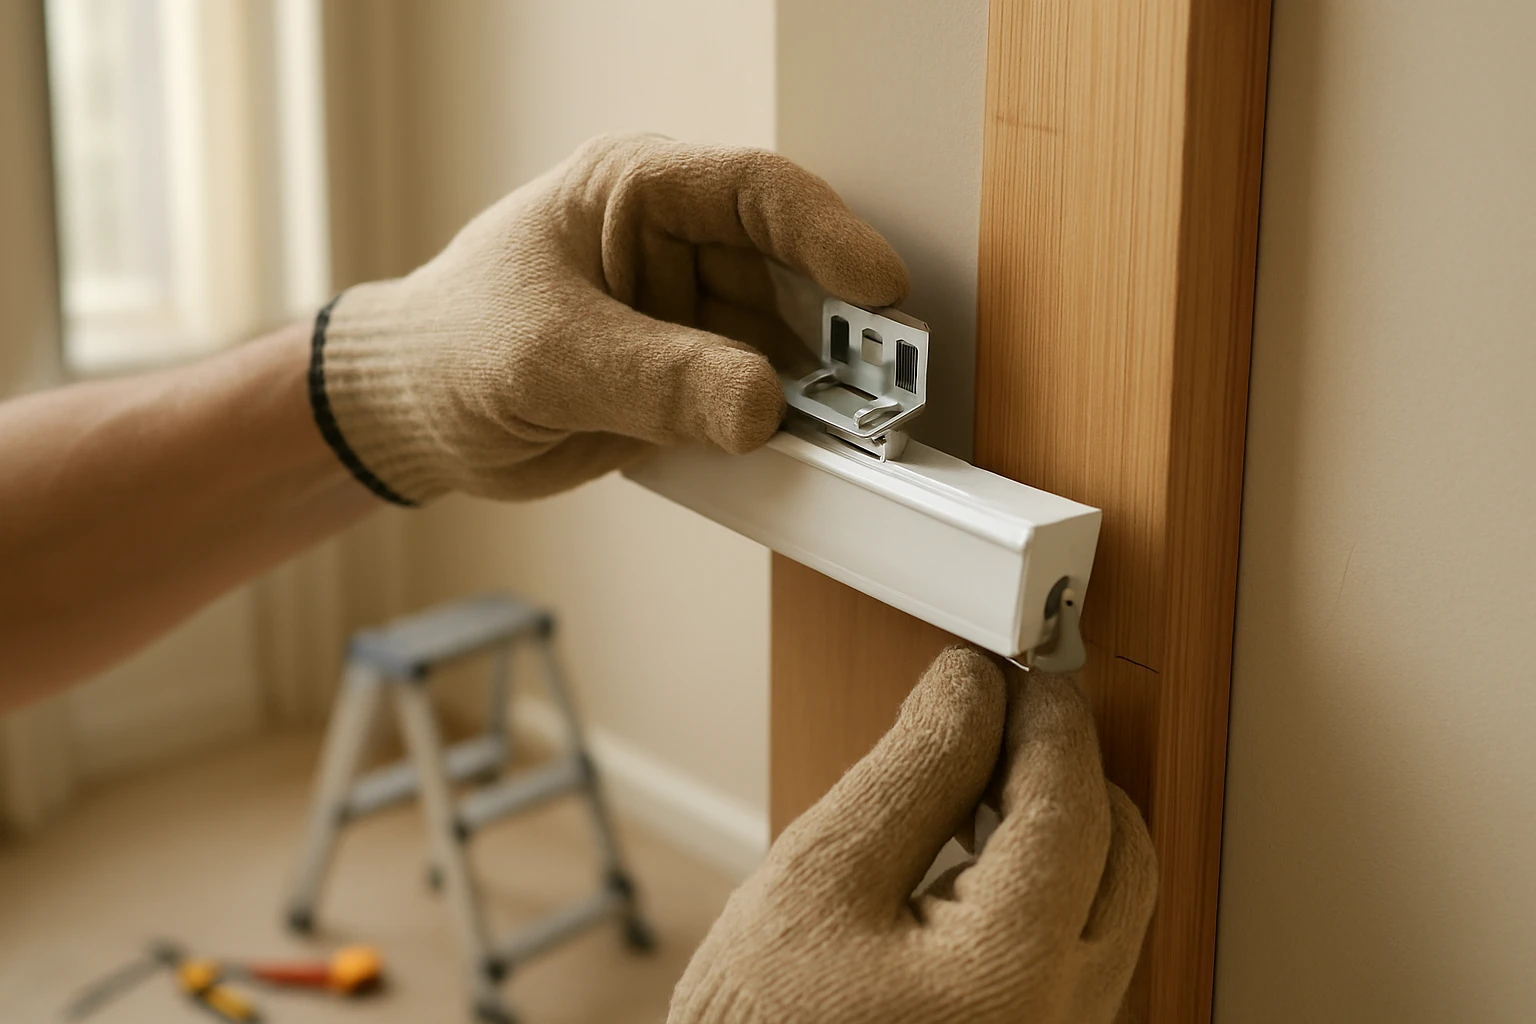
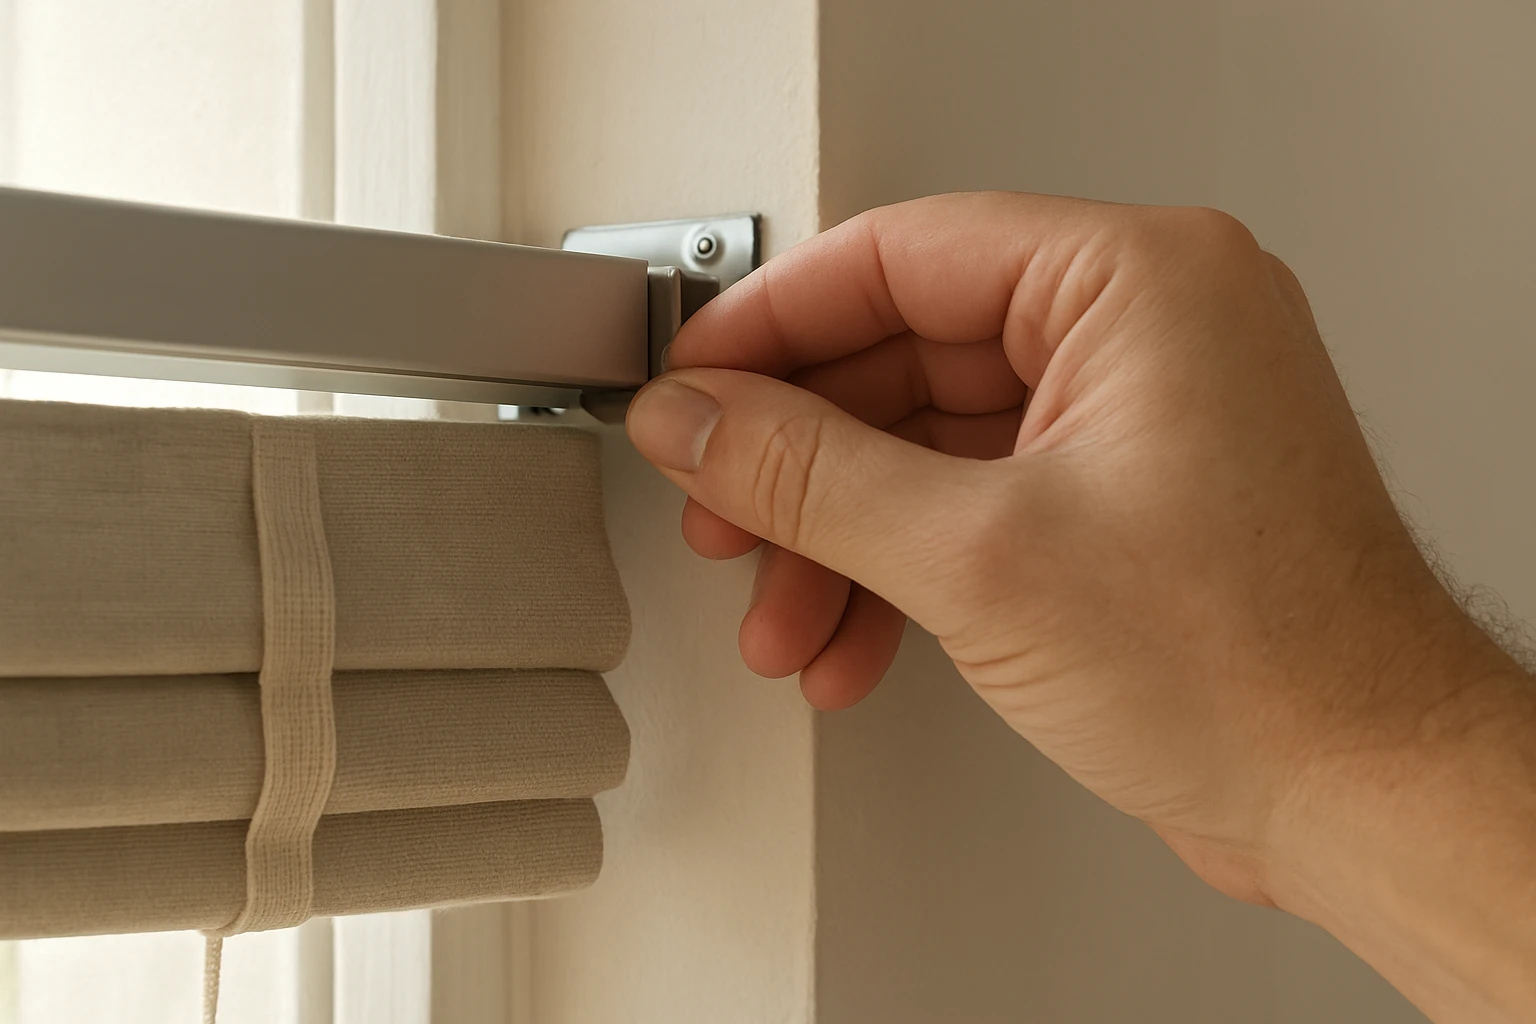
Lift the headrail into the brackets and close the bracket clips. Check that the headrail sits evenly and that it can slide into place before you tighten all screws. If the rail feels tight, remove it and check bracket alignment rather than forcing it.
Attaching Fabric and Cords
Most ready-made Roman blinds come with the fabric already fixed to the headrail. If you are re-covering a blind, align the fabric with the headrail slats and secure it with stitching or Velcro, depending on the design. Feed the lift cords through the pulleys and test the raise and lower action before you make the final fixes.
Cord Routing:
- Run cords through the rear pulleys and tie them to the bottom bar securely.
- Keep cords straight and free of twists so the folds stack evenly.
- Add cord stops or cleats at a safe height to reduce the risk for children.
Making Final Adjustments
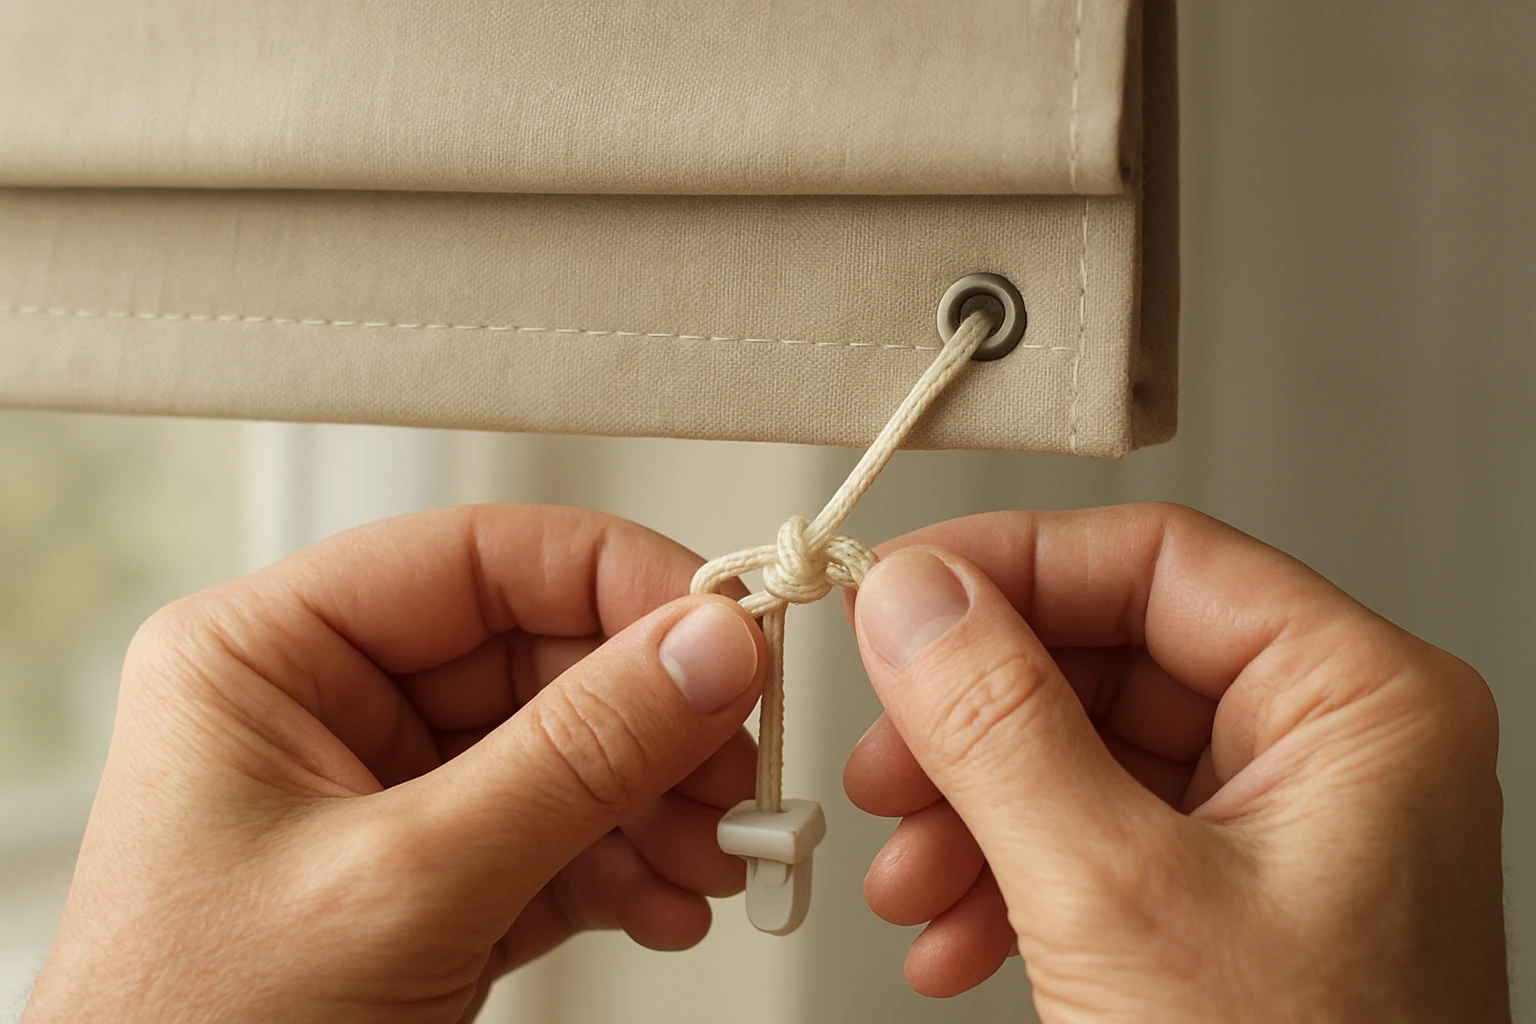
Use a level on the headrail and check the blind both down and up. If one side sits higher, loosen the knot on the low side, pull a little more cord to tighten it, then retie and test until the stack is even.
Troubleshooting Common Issues
Table 2: Common Problems And Fixes
| Problem | Likely Cause | Simple Fix |
|---|---|---|
| Blind stacks unevenly | Brackets not level or headrail slightly twisted | Loosen bracket screws, level headrail, retighten |
| Gaps at sides | Inside mount too narrow or fabric too narrow | Use outside mount overlap or add side seals |
| Blind drifts when raised | Cords have slack or knot slipped | Re-tension cords and secure knot |
| Fabric rubs handle | Bracket too close to handle | Move bracket up or use outside mount |
Safety and Childproofing
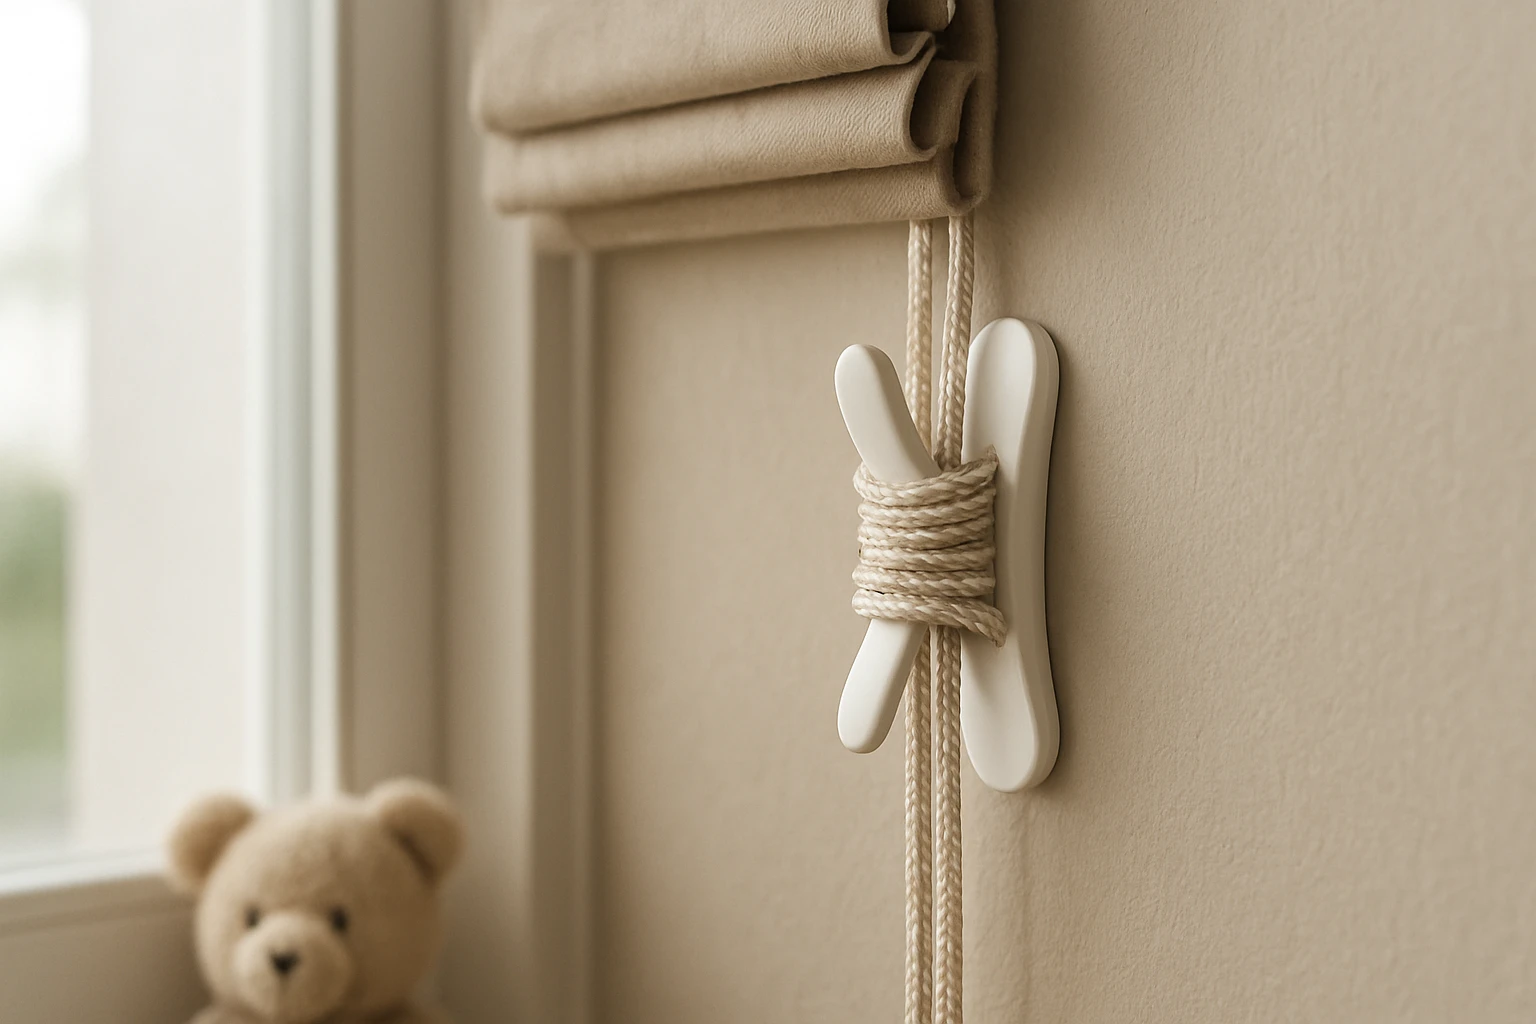
Cords are a real hazard for children. Fit a tension device, cord tidy, or cleat so cords stay fixed high and out of reach. Fitting a cord tensioner cuts loop hazards in family homes by a large margin. Many installers skip this step at first but add it after an inspection.
Child Safety Checklist:
- Install a cord cleat at least 1500 millimetres from the floor.
- Use breakaway tassels or continuous cord tensioners for long loops.
- Keep furniture away from windows to prevent climbing.
Care, Cleaning and Fabric Considerations
Roman blinds collect dust in the folds. Regular light vacuuming with a brush head keeps the fabric looking fresh. For deeper cleaning, follow the fabric maker’s instructions and check the product guide for washing tolerance.
For help choosing fabric for light control and maintenance read Best Fabric for Roman Blinds: 6 Options for Different Requirements. For style guidance see Choosing The Right Style Of Roman Blinds | 6 Important Tips.
When to Call a Professional
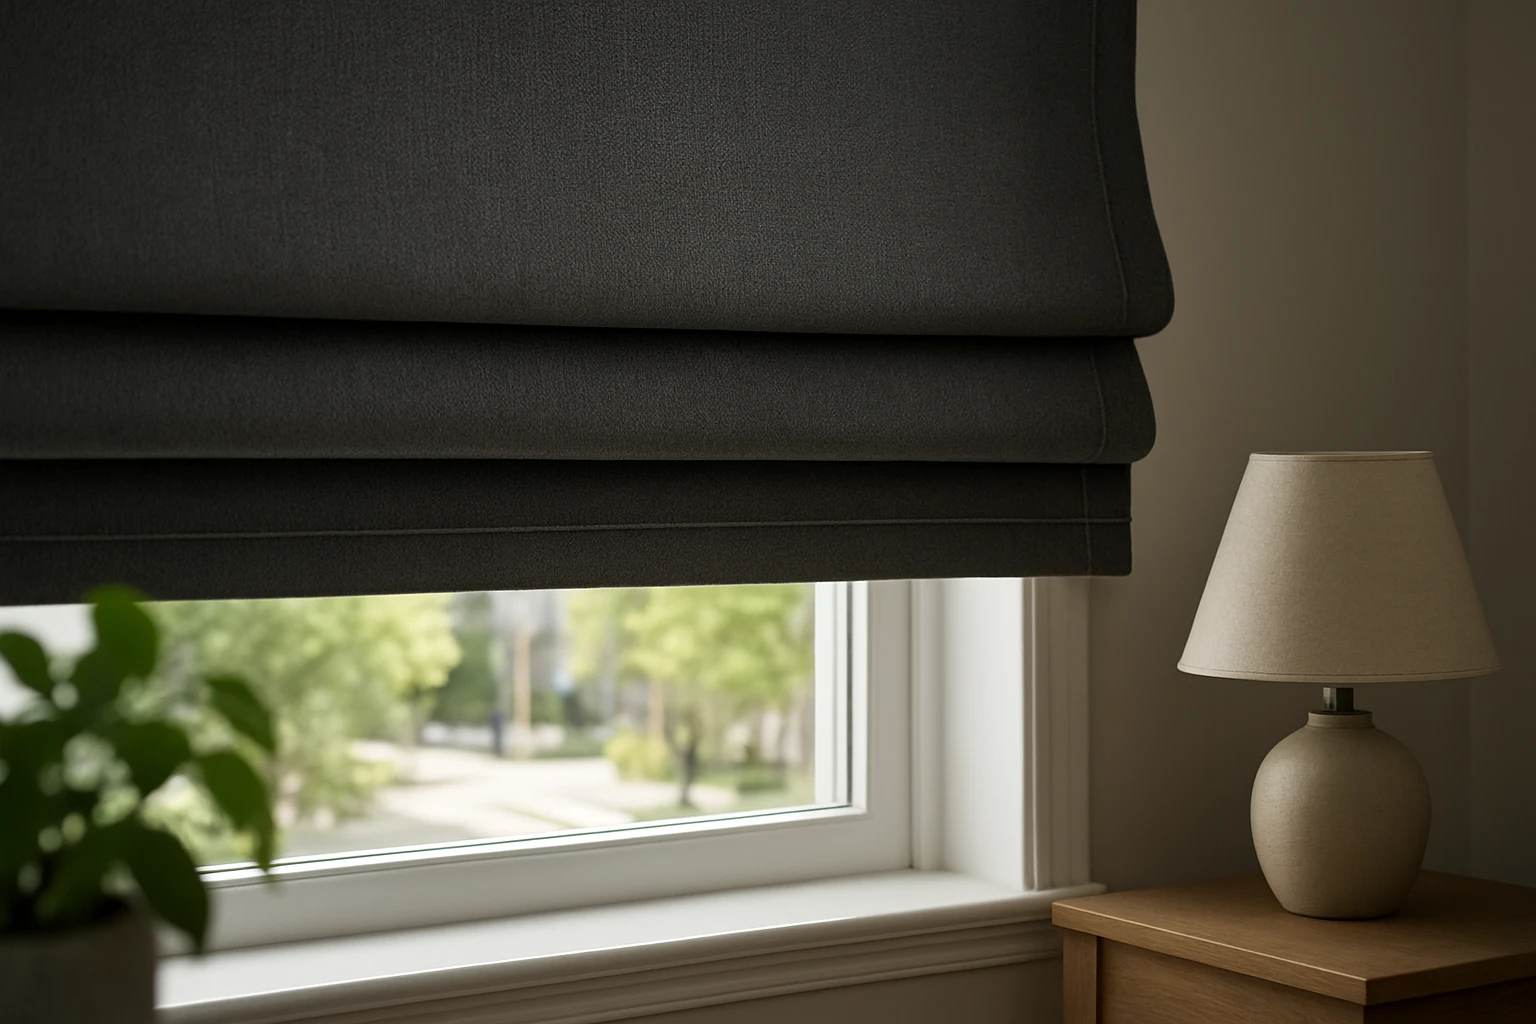
Call a fitter if the window is unusually large, the reveal is badly damaged or uneven, or the blind is heavy with lining that needs specialist tools. For commercial spaces use a fitter experienced with Office Blinds. For tricky bedroom installs consider a professional who can size and fit Blackout Blinds precisely. For doors or balcony openings see the Door Blinds and Balcony Blinds pages for recommended mounting methods.
Comparison and Decision Table
Table 3: Choosing Roman Blinds Versus Alternatives
| Feature | Roman Blinds | Roller Blinds | Curtains |
|---|---|---|---|
| Light Control | Good with lining options | Very good with blackout roller | Good depending on fabric |
| Fit For Windows With Handles | Requires outside mount often | Easy to fit around handles | Easy but needs space |
| Ease Of Cleaning | Medium due to folds | Easy surface wipe | Depends on fabric |
| Style Options | High, tailored folds | Simple and modern | Very varied |
Final Checklist Before You Finish
- Recheck all measurements and bracket tightness.
- Confirm the headrail is level with a spirit level.
- Test raise and lower through the full travel three times.
- Secure cords with a cleat and fit any tension device.
- Check for rubbing on handles or catches and adjust bracket position if needed.
More Resources
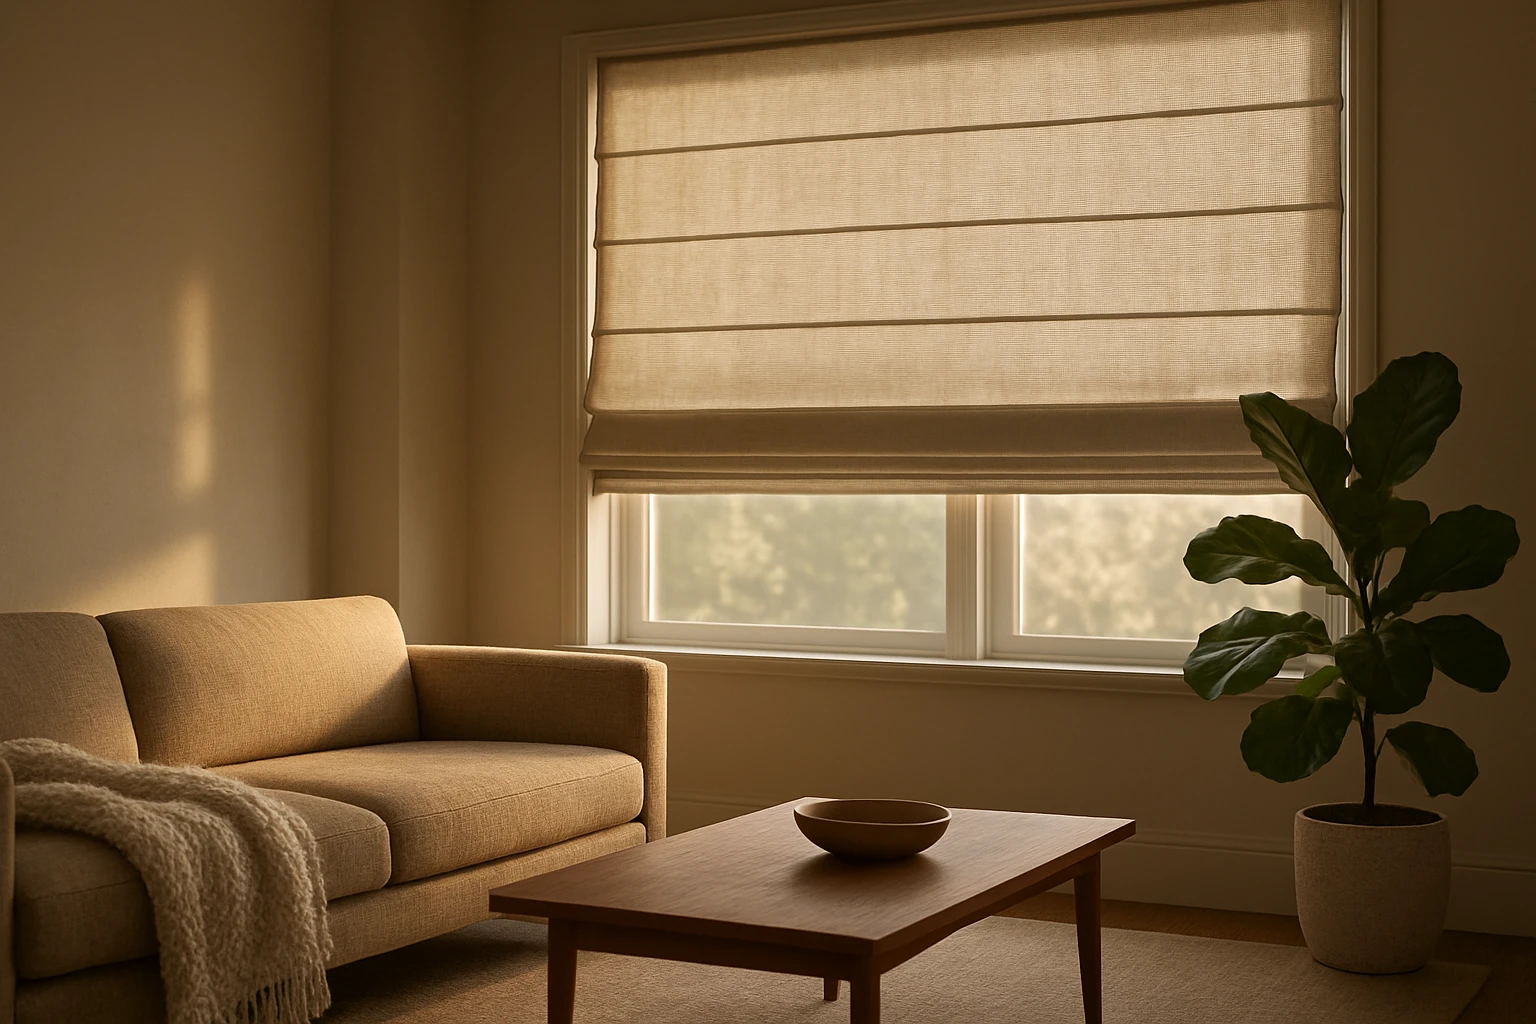
For a practical step-by-step fitting walkthrough see Step-by-Step Guide To Roman Blinds Fittings Guide. For tips on picking the right blind for living spaces see Living Room Blinds and for window specific queries see Window Blinds.
Frequently Asked Questions
Can I Fit a Roman Blind Myself or Should I Hire a Professional?
You can fit a Roman blind yourself for most standard windows if you have basic tools and can drill into the surface. Plan for 45 to 75 minutes per window and follow the measurement steps carefully. Call a professional for unusually wide windows, damaged frames, or when precise blackout performance is essential.
Should I Choose an Inside Mount or Outside Mount for Roman Blinds?
Choose an inside mount for a neat, built-in look when the reveal is deep and straight. Choose an outside mount when the reveal is shallow, uneven or when you want the blind to cover extra glass for better light control.
How Do I Stop My Roman Blind Stacking Unevenly?
Check that the headrail is perfectly level and that the brackets sit flush. Re-tension the lift cords on the low side by loosening the knot, pulling a small amount of cord, and retying. If brackets are loose resecure them and test again.
What Safety Steps Should I Take to Childproof Roman Blinds?
Fit a cord cleat at least 1500 millimetres from the floor, use tensioners for long loops, and keep furniture away from windows. For homes with young children consider cordless or wand-operated options where possible.
How Do I Measure for a Blackout Roman Blind?
For blackout fabric measure the same way as a standard blind but allow extra overlap either side and above so light does not leak at the edges. Outside mounting with 40 to 100 millimetre overlap per side is common for effective blackout.
What Should I Do If the Headrail Will Not Fit into the Brackets?
Do not force the headrail. Remove it and check bracket alignment and clearance behind the rail. Loosen bracket screws slightly, adjust, and then try seating the headrail again. If the problem persists check the rail and bracket models for compatibility.