Window covering helps us in many aspects like getting privacy, blocking out the external light, and also giving insulation functionality to our homes. Window treatment comes in various types and varieties. Roman blinds are also one of them. People wonder about; How to Make Roman Blinds.
You can easily get the standard-sized roman blinds from the market or if you want customized blinds, then you can place your online order as per your requirements. If you didn’t want to avail both choices, then you can also make roman blinds by yourself.
Many people want to make the blinds by themselves to get exactly what they want. You need to be very careful while sewing the blinds because a minor mistake can ruin your hard work, cost, and your time.
To help you, we have brought this article for you. Today we will discuss how to make roman blinds? We will guide you step by step to make perfect handmade roman blinds by yourself.
Step-by-Step Guide On How to Make Roman Blinds

If you want to make the roman blinds by yourself, then you are at the right place. Today we will give you a step-by-step guide about how to make roman blinds. Follow the instructions given below for getting better results:
1. Material You Need
- Pencil
- Fabric
- Velcro tape
- Nylon cord
- Plastic rings
- A couple of “L” hooks
2. Required Tools
- Scissor
- Sewing machine
- Measuring tape
- Hot glue gun
- Iron
- Iron board
- Drill
3. Take Measurements

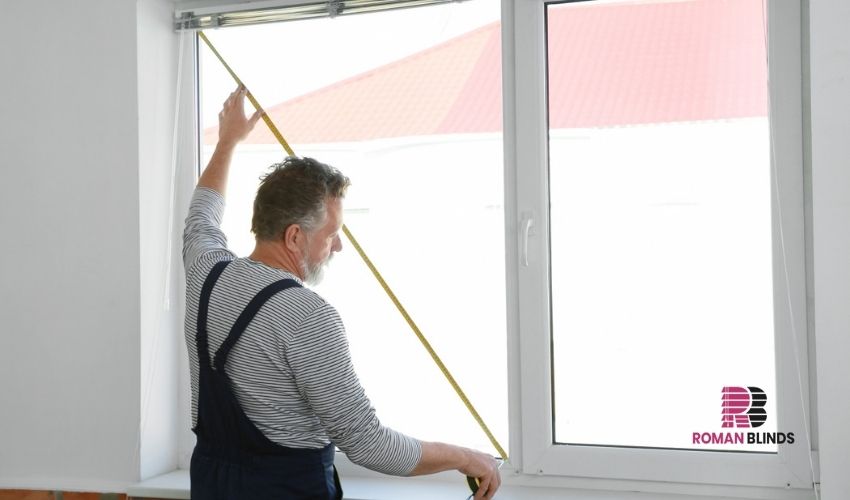
Taking a measurement is considered being the most crucial part that can make or break the entire look of the roman blinds. So, perform this step carefully. Measure the length and width of the window.
There are two ways to Make the roman blinds and for each method, the measurements would be totally different. Let’s look at these methods one by one:
1. For Mounting Blinds Inside The Window Frame

- Measure the length and width of the inside recess of your window for fitting the blinds into the window frame.
- After this, add 24mm all around the taken measurements for hemming.
- Then add 50mm from the top and bottom side to build foldings.
- Now you have to add 20mm as per each pocket you have to make.
- The number of pockets will depend on the length of the blinds.
2. For Mounting Blinds Outside The Window Frame

- Measure the length and width of your window frame for fitting the blinds outside your window frame.
- After this, add 24mm all around the taken measurements for hemming.
- Then add 50mm from the sides, top and bottom side to create foldings.
- Now you have to add 20mm as per each pocket you have to make.
- The number of pockets will depend on the length of the blinds.
4. Get The Fabric

After taking the measurements, get the fabric as per your measurements. Try to get the best quality fabric that can be durable for a long period. Select the color of the fabric that can easily blend with the interior of your room.
5. Cut The Fabric

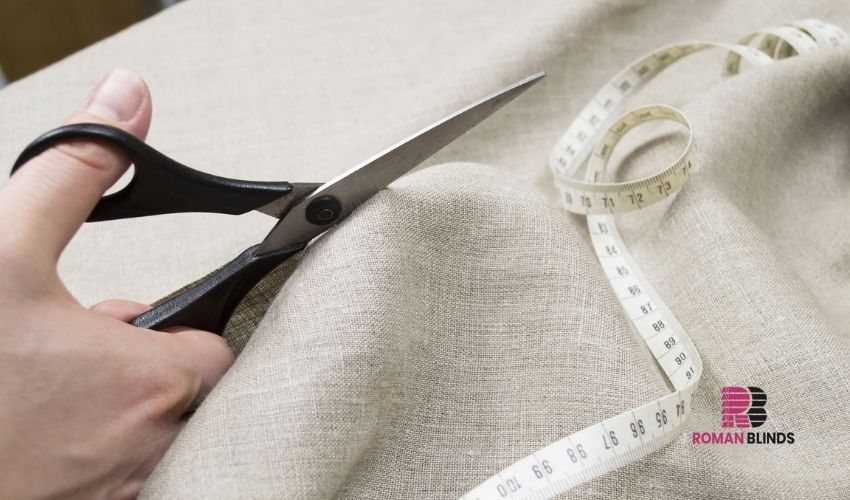
After purchasing the fabric, your next step will be cutting the fabric as per the taken requirements. Cut it according to your preference of hanging inside the recess on the top of your window frame.
6. Prepare The Fabric For Sewing

- Fold the 12mm extra fabric from all sides you have left for the hemming process.
- After this, take the iron and press it on the folded area.
- Then you have to measure the distance at which the pockets will be placed.
- Use the iron and press the fabric to make it flat.
- Now place the dowel and mark that place where you have to mount the pocket and place a pin in the marked place.
- After placing the pin, remove the dowel. This will help you to pin the width required for all the pockets.
7. Sew The Fabric To Make Blinds

- Place the bottom of the blind into the sewing machine.
- Start sewing from the bottom and take it to the top side of the blind.
- Keep the hemming from all the sides.
- After stitching from all the sides sew each individual pocket one by one.
- After this, take the iron and press on all the dowel pockets to make them look neat and flat.
- After this, measure the required length and fold the extra fabric under the hem.
8. Assemble Blinds

- Cut the dowels to make them shorter than the width of the blind so that they can’t be visible and give a pleasant look.
- After this, take the plastic rings and attach them to the back of the blinds. Place the rings on the left, right, and middle of the blinds to mount them perfectly to make Roman Blinds.
- Now take the velcro tape and cut it 2cm shorter than the batten. Now use the hot glue gun to apply the tape to the batten.
- Then take the eye hooks for attaching the plastic rings on the backside of the blinds.
- Attach the 4 hooks from which 3 hooks are attached to the nylon cords and the last hook helps to keep all the 3 cords thread together and tied off with a knot.
- Now thread all the hooks and rings by using the nylon cord. This cord will be knotted at the ring and thread with the corresponding eye hook that is placed on the top of the blinds.
9. Mount The Blinds

- Get the “L” hooks at the side where you want to wrap the cord.
- Then you have to secure the batten either on the top of the window frame or outside of your window.
- Now attach the fabric of the blind with the help of velcro tape that is placed on the top of the blinds.
Conclusion
This is all about how to make roman blinds? We have discussed each and everything related to creating the handmade roman blinds. I hope this article would be helpful for you and now you can easily swing the roman blinds at home.
If you don’t understand something or have any queries regarding this, then you can ask by posting a comment. Our professionals will guide you.


